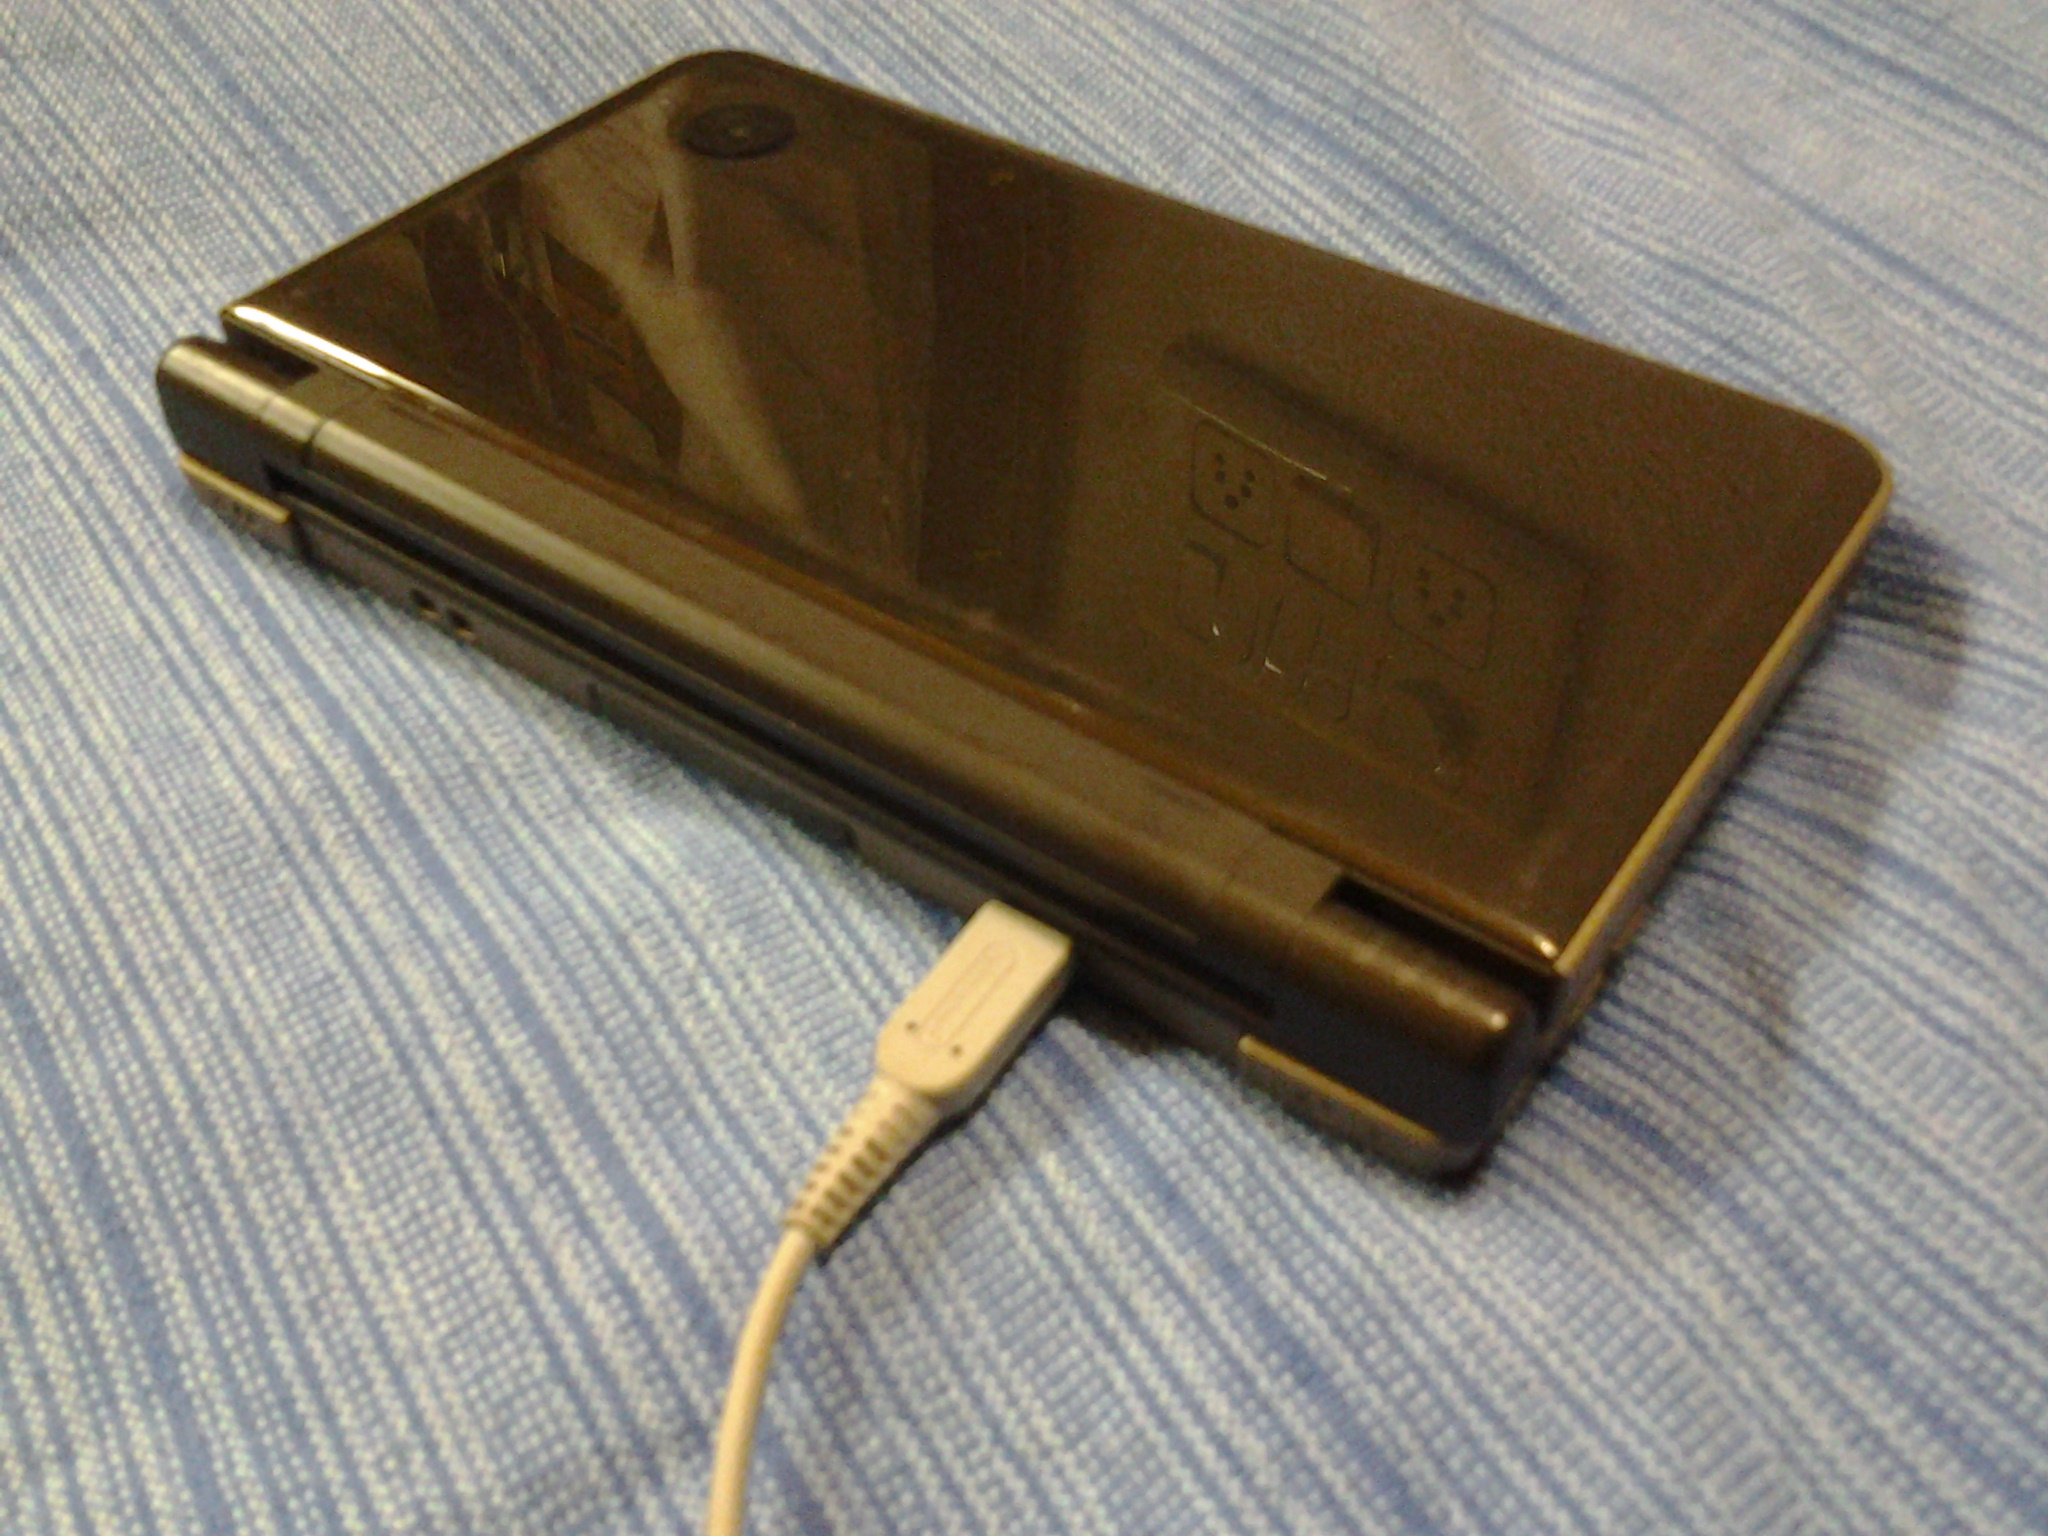
Some of my family friends had come over from the USA, and had brought their Nintendo DS along with them.
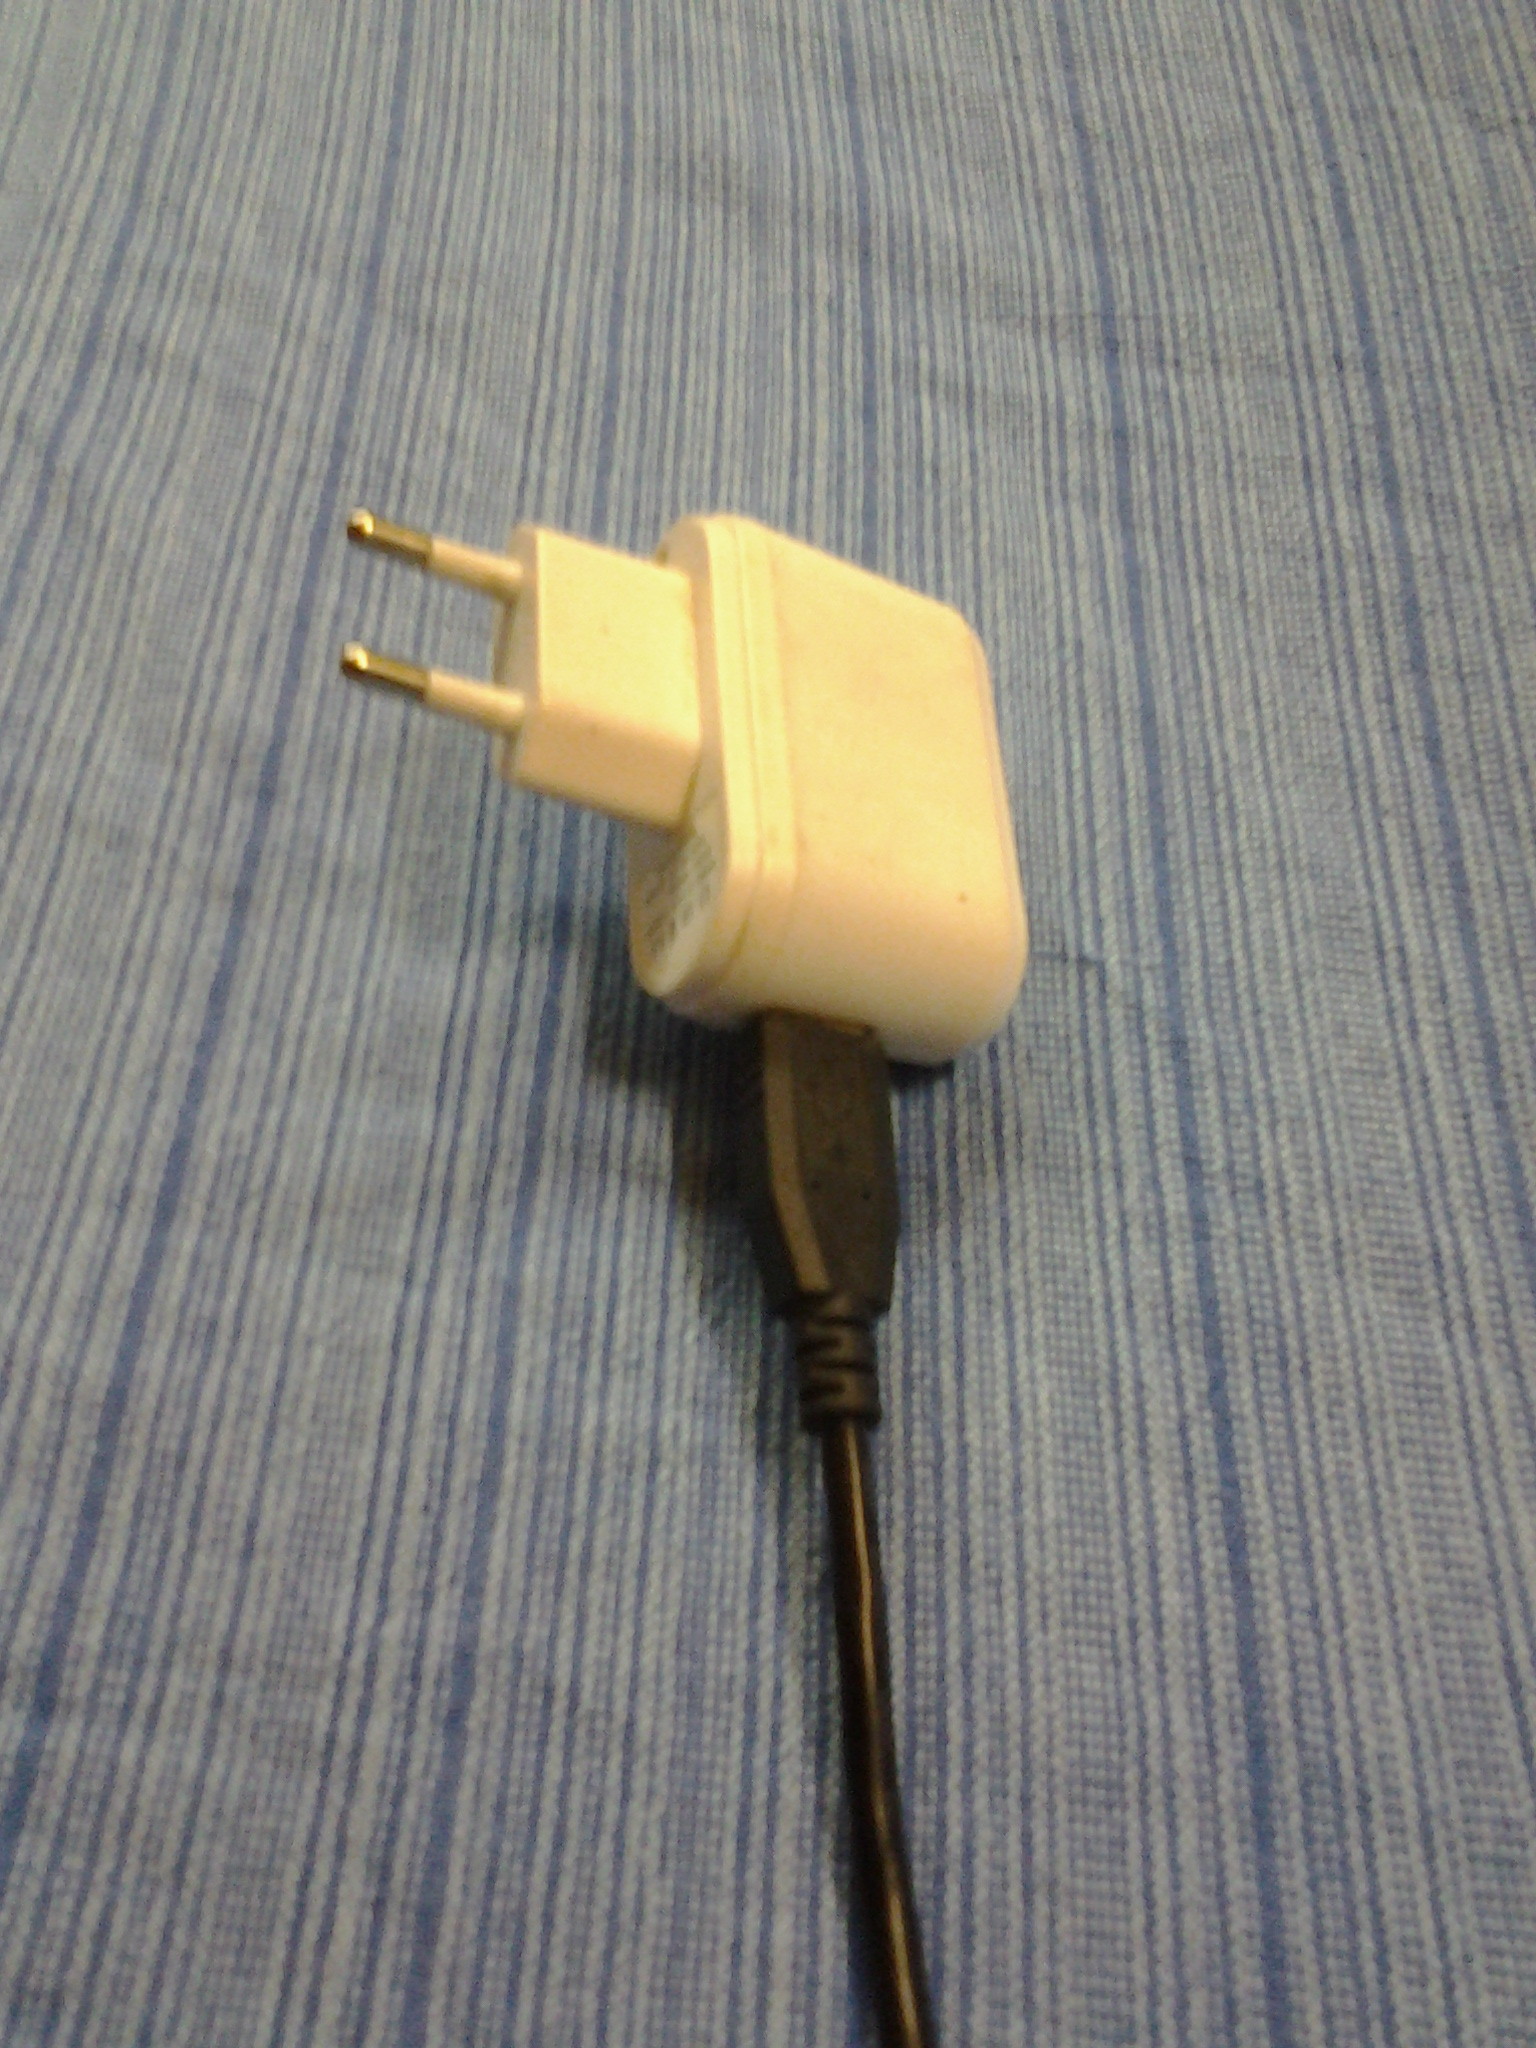
Unfortunately the Nintendo’s charger was manufactured as per North American standards. i.e. 120 volts & 60 Hz
Indian wall sockets have a rating of 230 volts and 50 Hz. Hence, the charger couldn’t be used.
If, like my friend, you happen to have an old Nintendo DS charger, it’s probably mean’t for use only in the country in which you bought it.
Here’s a simple and cost-effective method of upgrading the charger so you can take your favourite gaming console wherever you go.
Components required:
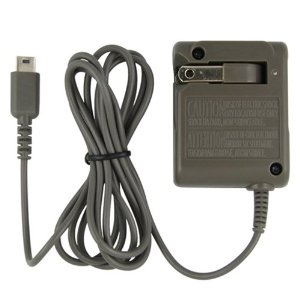
- Nintendo DS charger
- Old USB cable with USB type A connector
- Heat shrink tube
- Electrical tape (insulating tape)
Tools:
- Soldering Iron (and soldering lead)
- Wire cutter
- Hot glue gun
Other tools that are not essential, but come in handy:
- Nose pliers
- A small computer/table fan (to blow the fumes away)
Step 1:
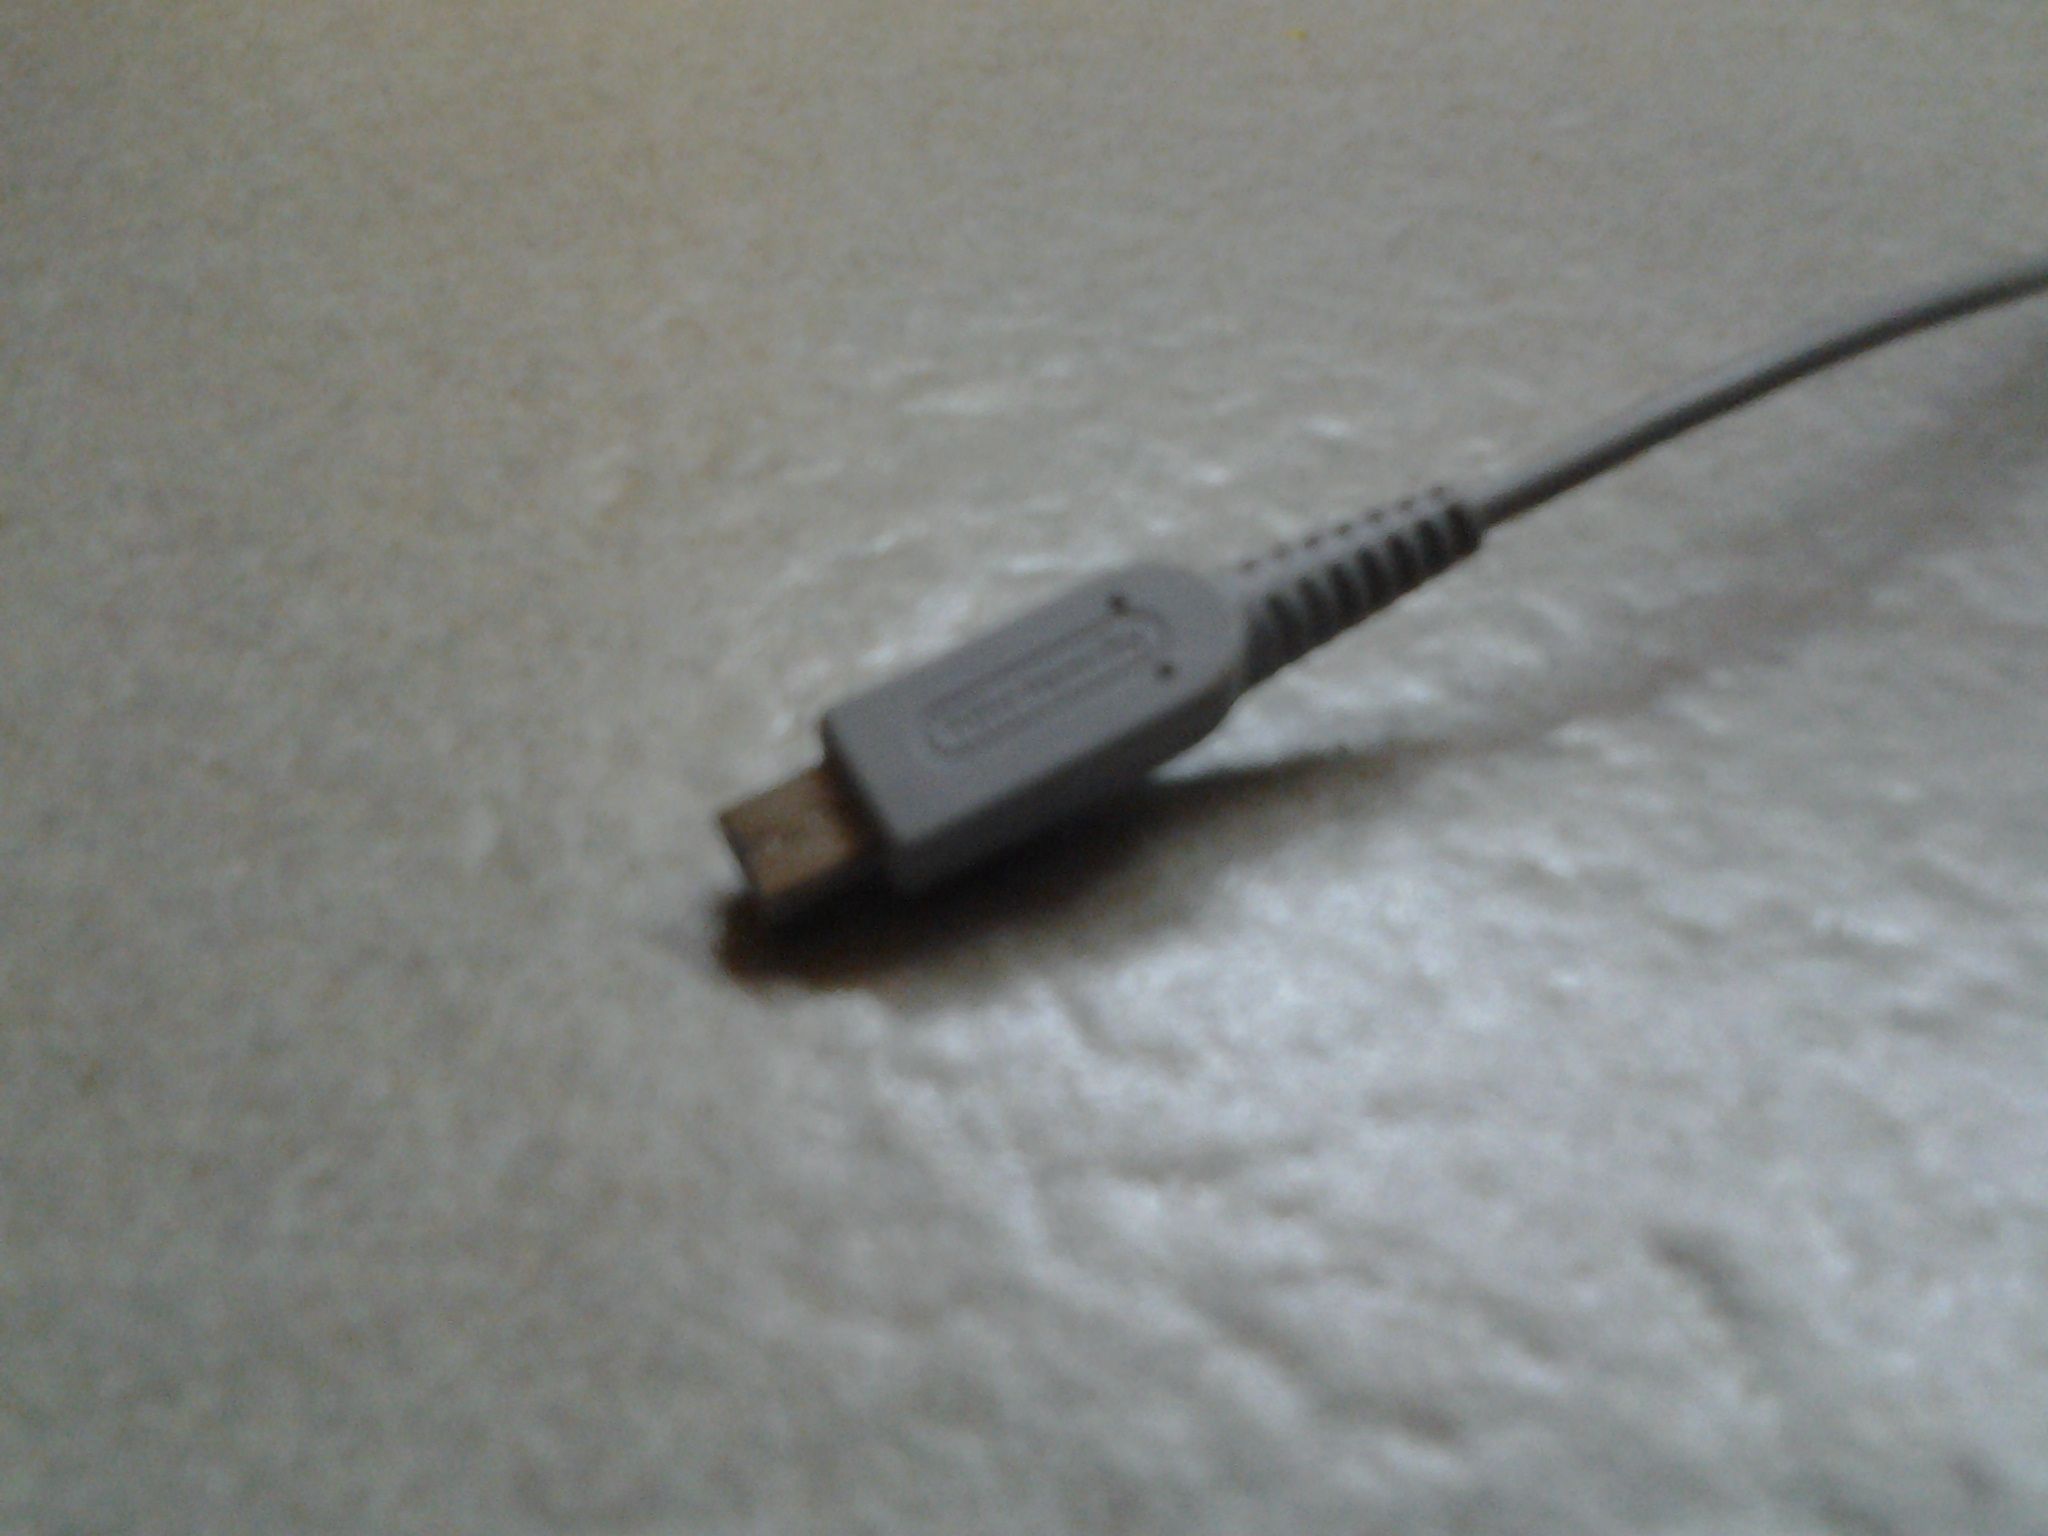
Cut the cable of the charger close to the adaptor, so that you have only the small plug and a length of cable.

Step 2:
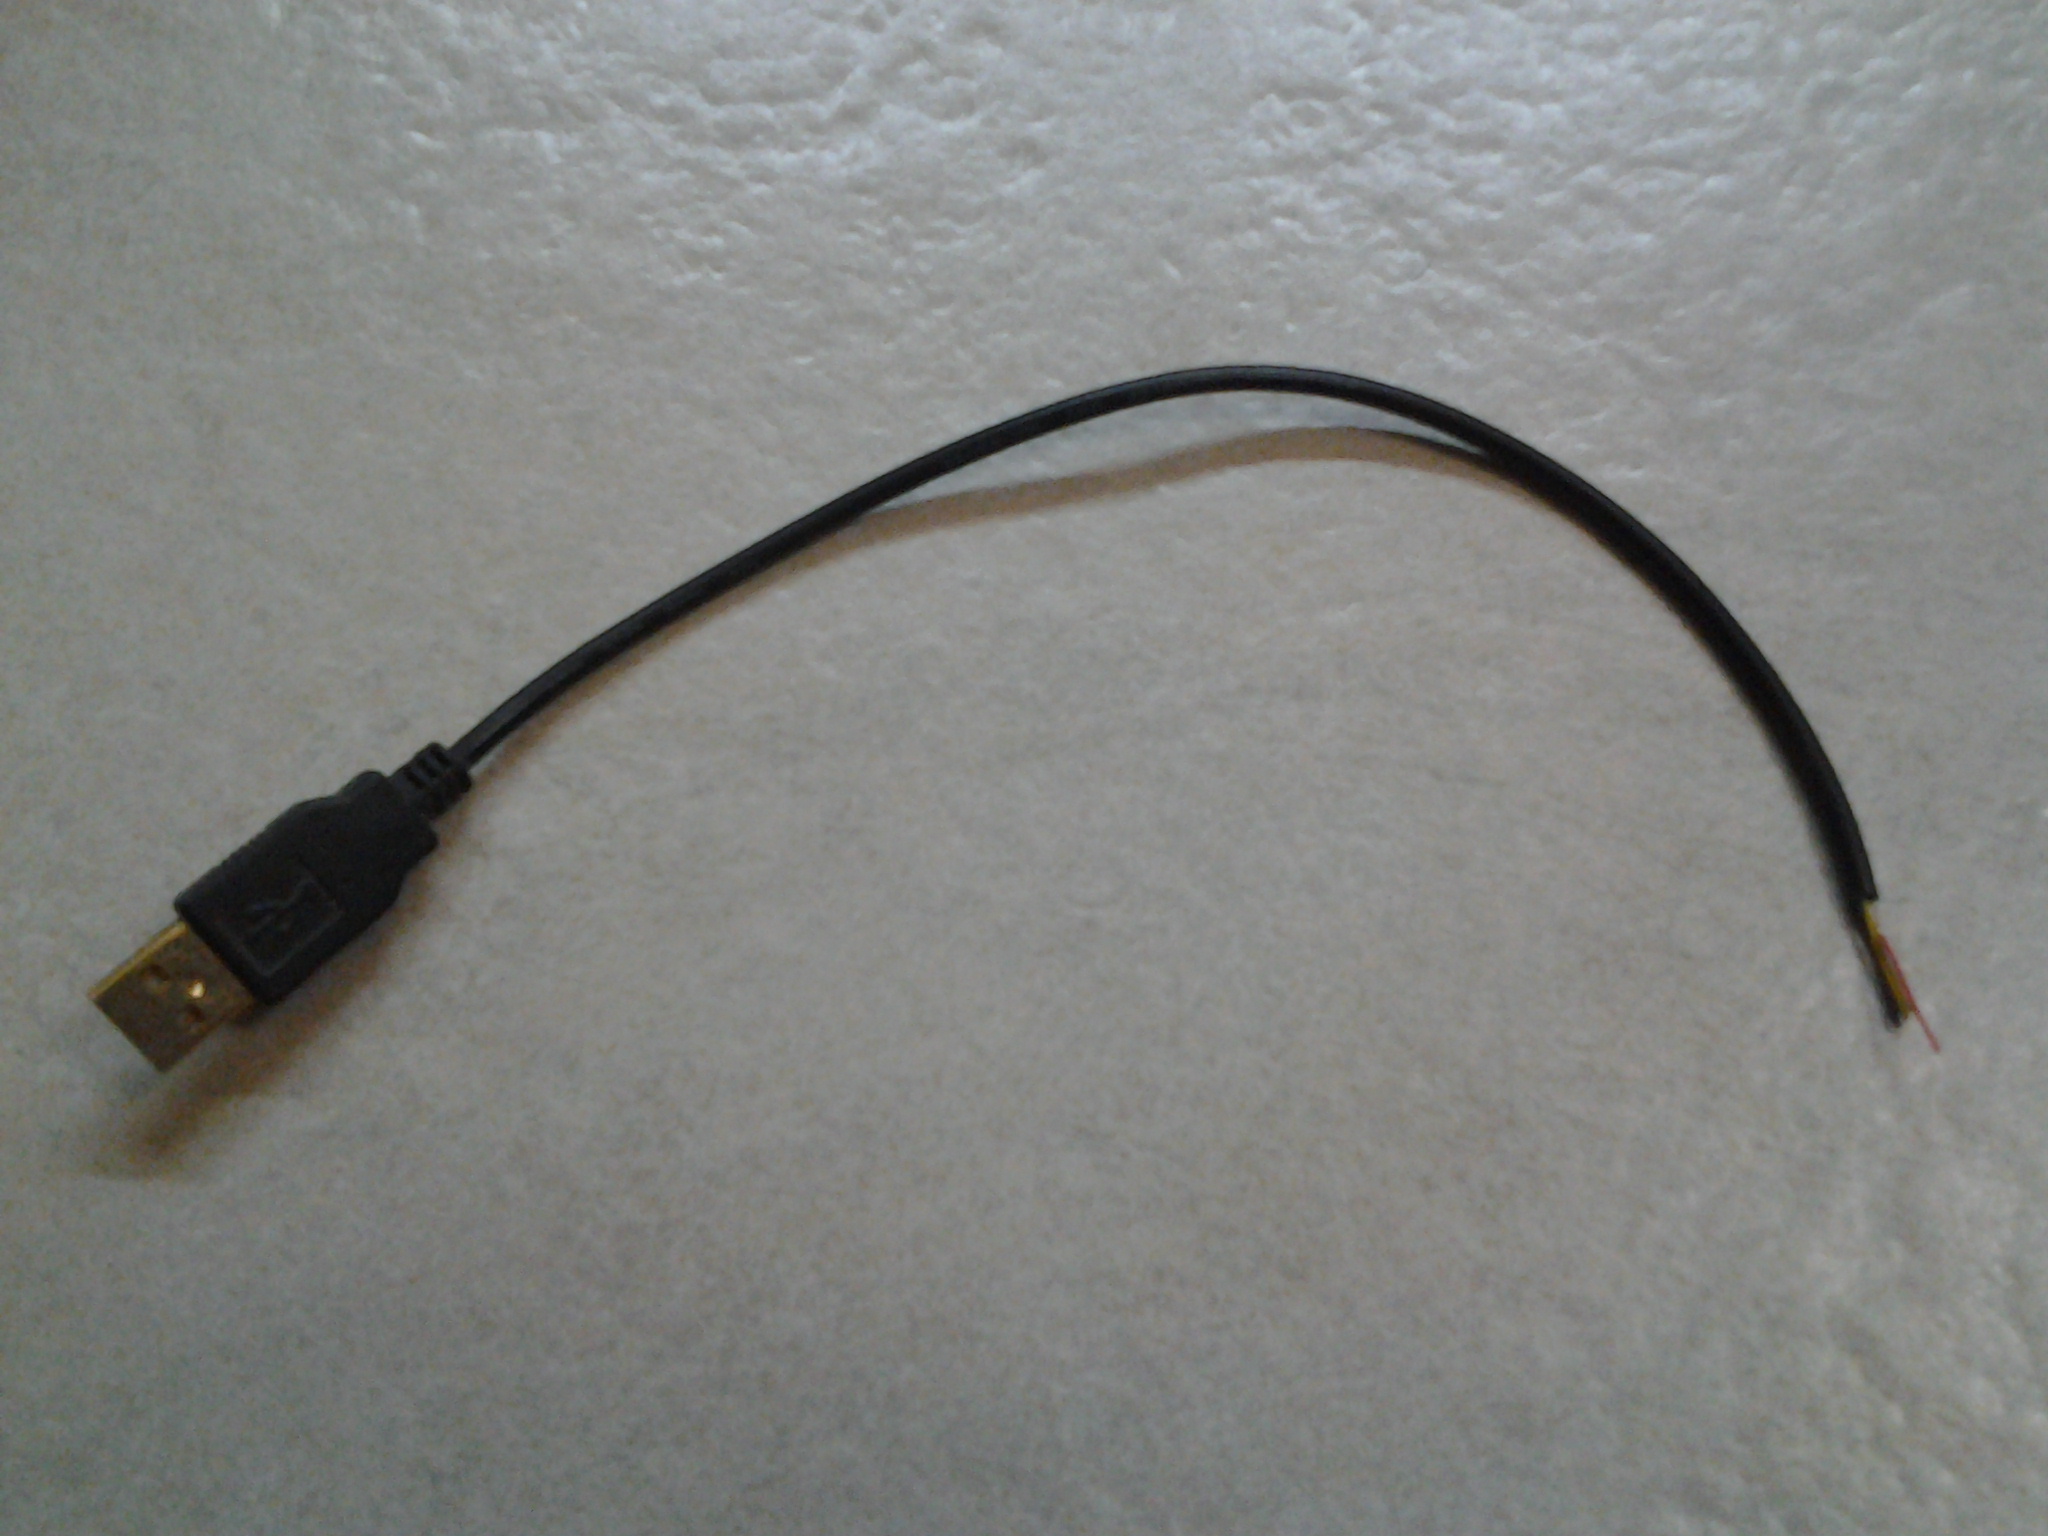
Cut the USB cable in half.
Step 3:
Strip off about 1 cm of wiring from both cables.
Step 4:
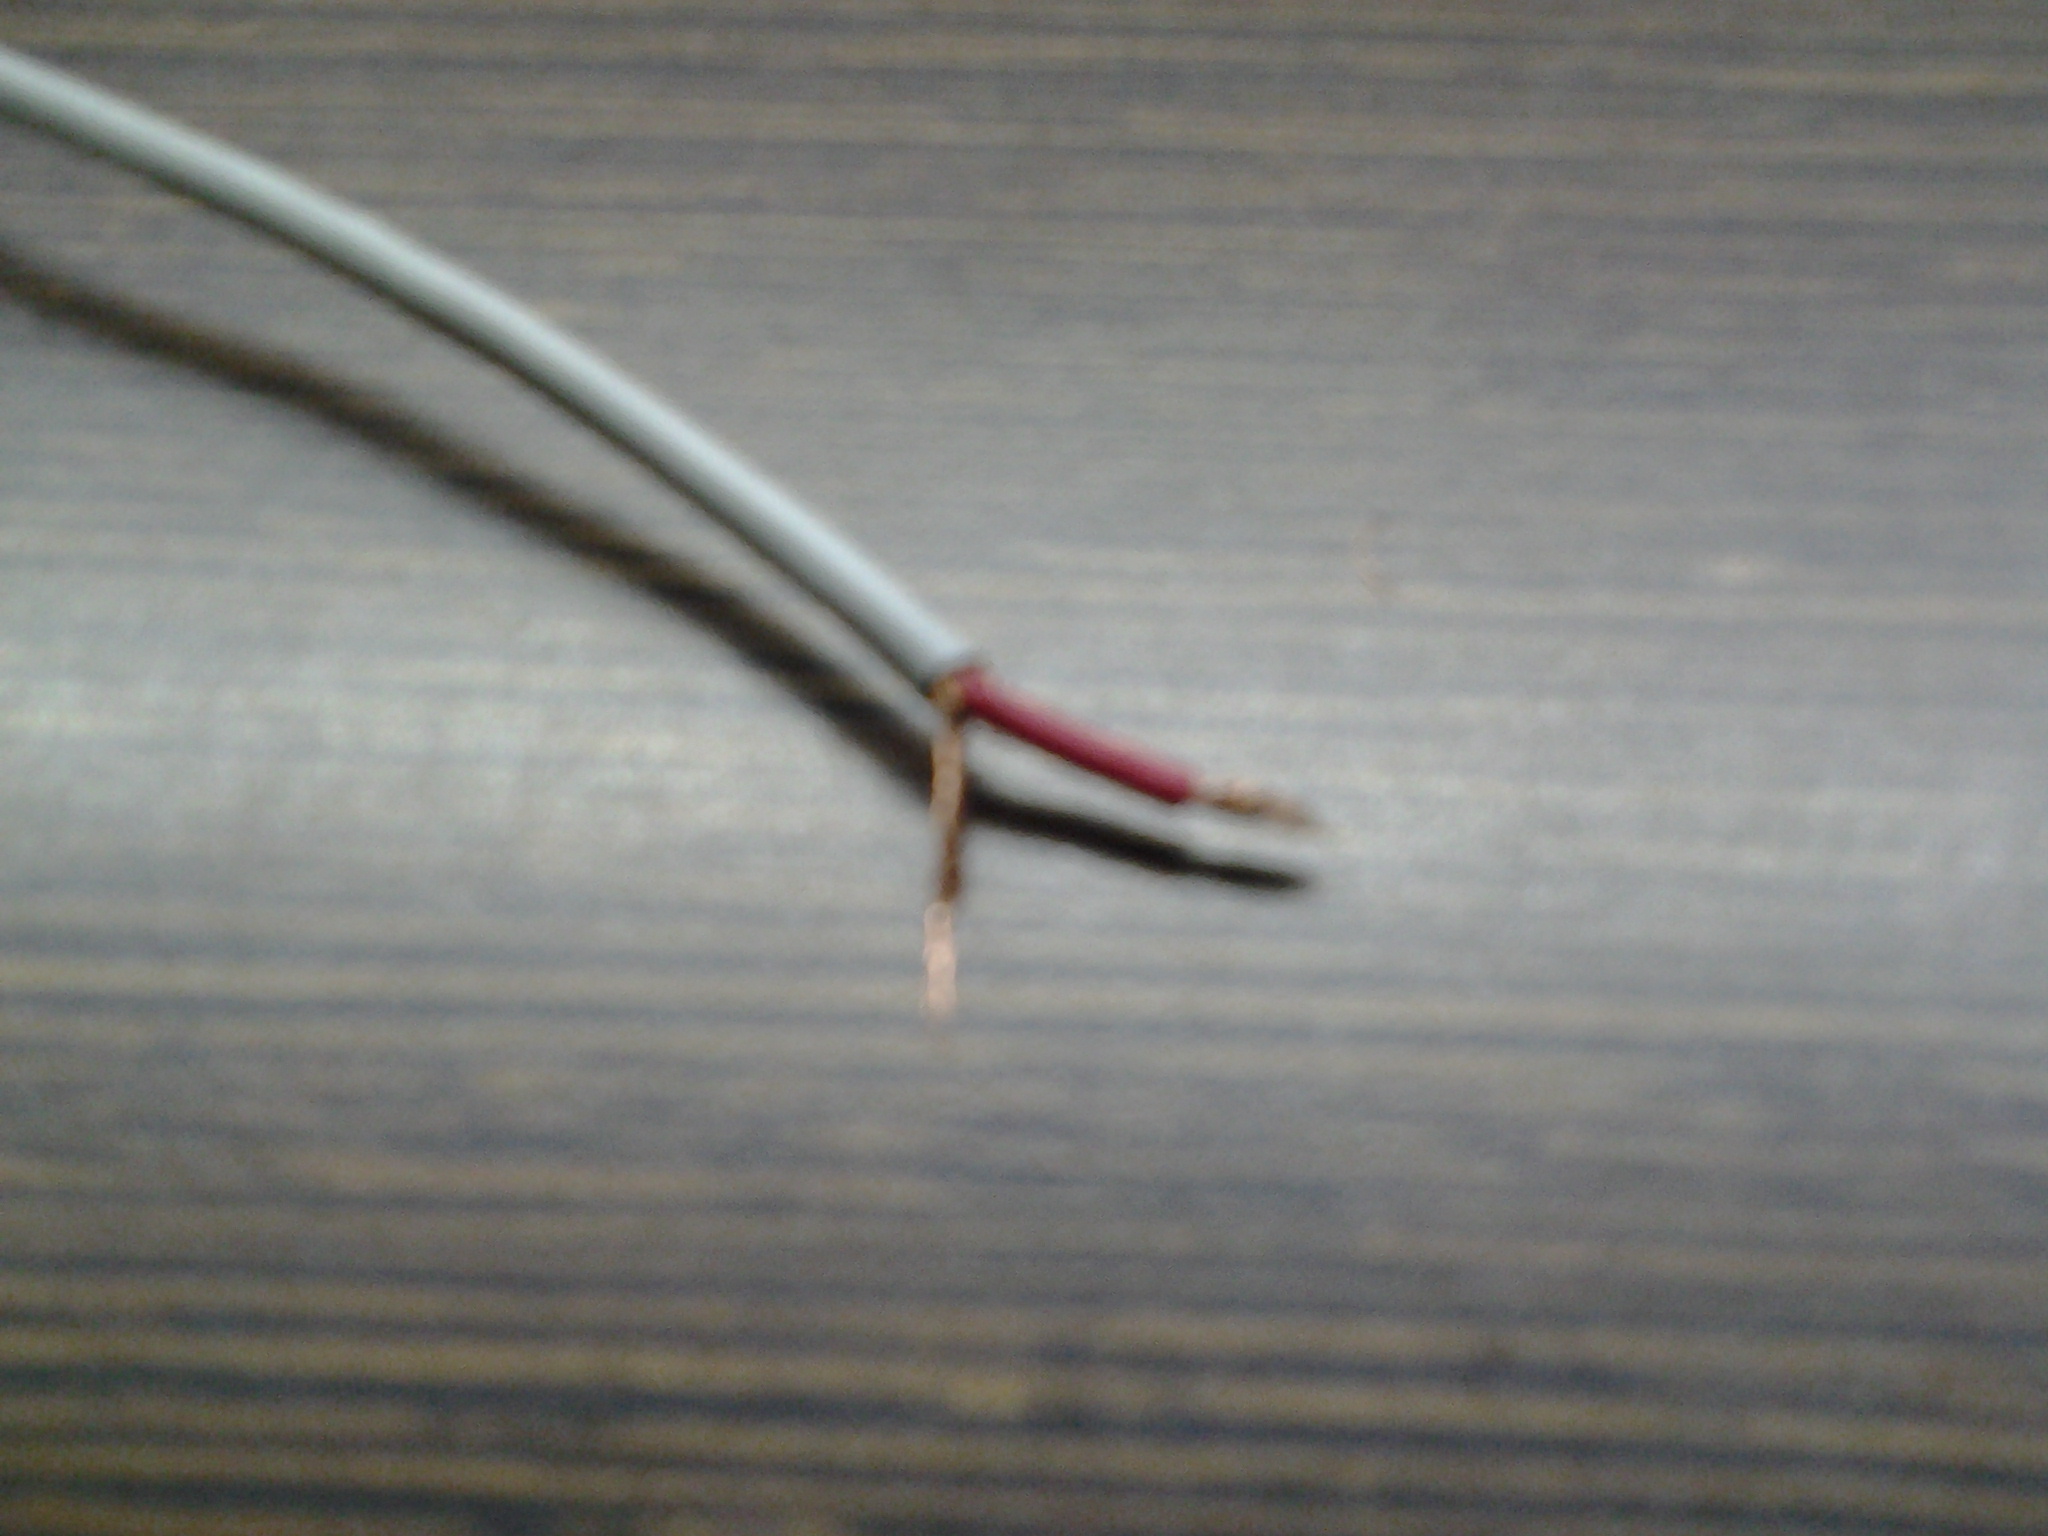
On the USB cable, you should now be able to see 4 individual wires. You only need the red and black wires, so cut off the other two. Strip off a bit of insulation from both wires. Now twist the strands of the red wire together, and do the same for the strands of the black wire.
Step 5:
On the Nintendo cable, you should see many strands surrounding a single red wired in the middle.

The surrounding strands are negative, and the red wire is positive. Strip off a bit of the red wire and twist the strands together. Now collect all the surrounding strands and twist those together.
Step 6:
Now you have isolated the positive and negative wires on both cables.
Step 7:
Cut off a small piece of heat shrink tube and put it on the black wire of the USB cable. Now solder the black wires together. After soldering the black wires, touch the soldering iron to the heat shrink tube and let it shrink to encase the soldered connection of the two black wires.
Step 8:
Repeat Step 7 for the red wires.
Step 9:
Now that both wires are connected and insulated, use some hot glue and secure them wherever necessary.
Step 10:
Lastly, wind tape around this fragile section of the cable.
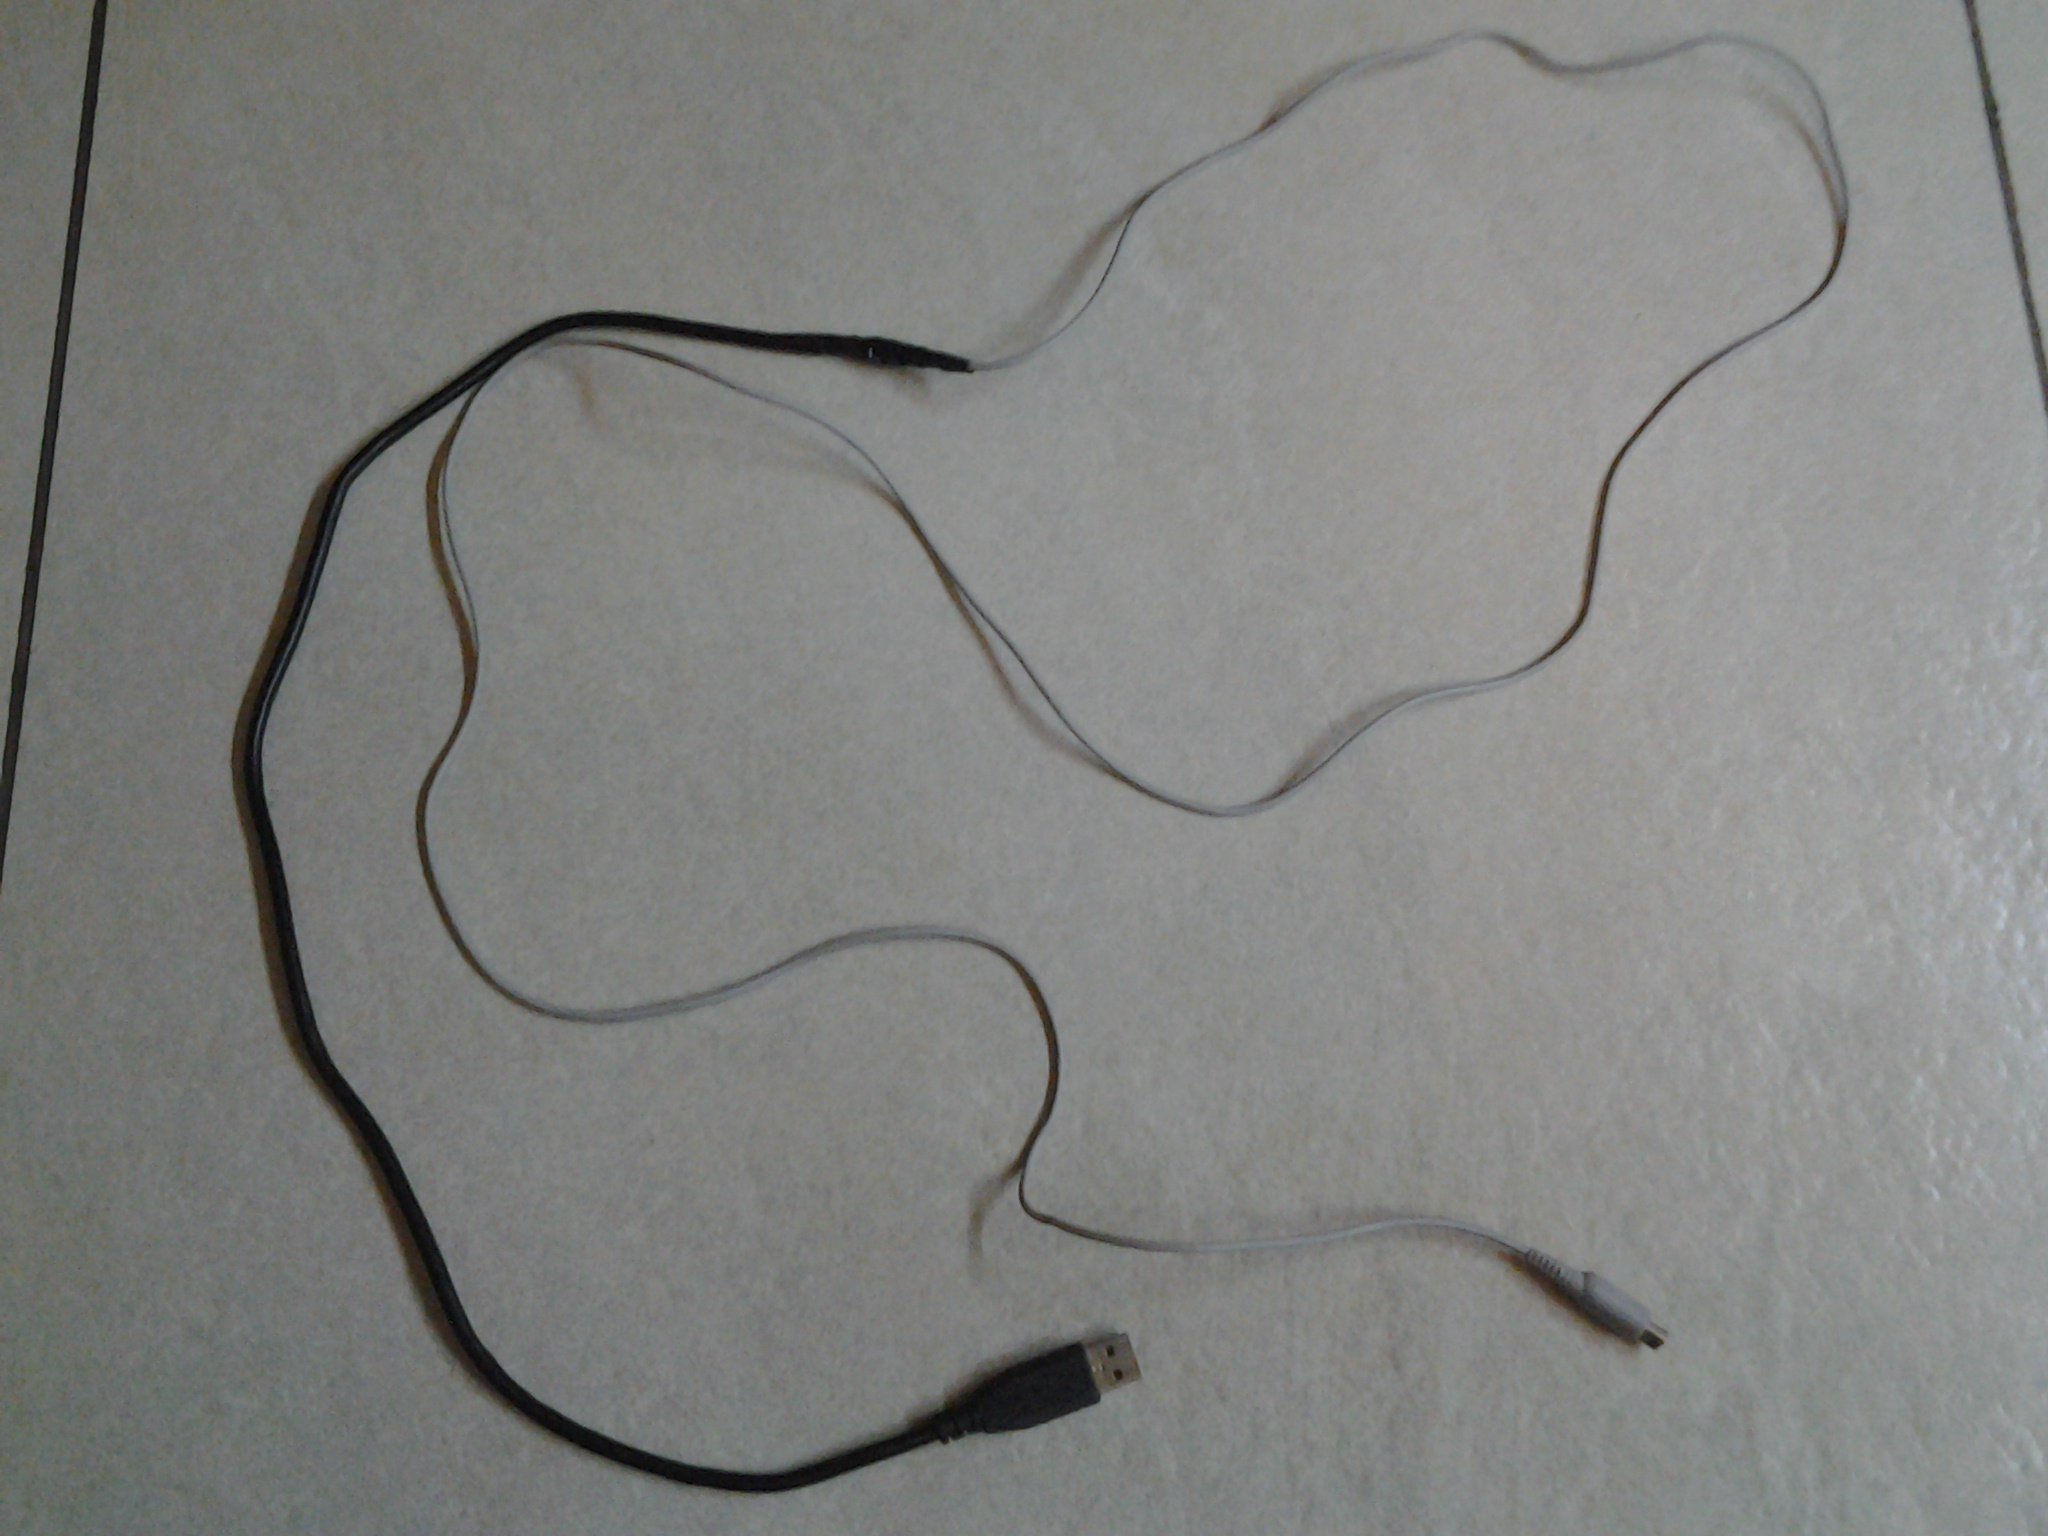
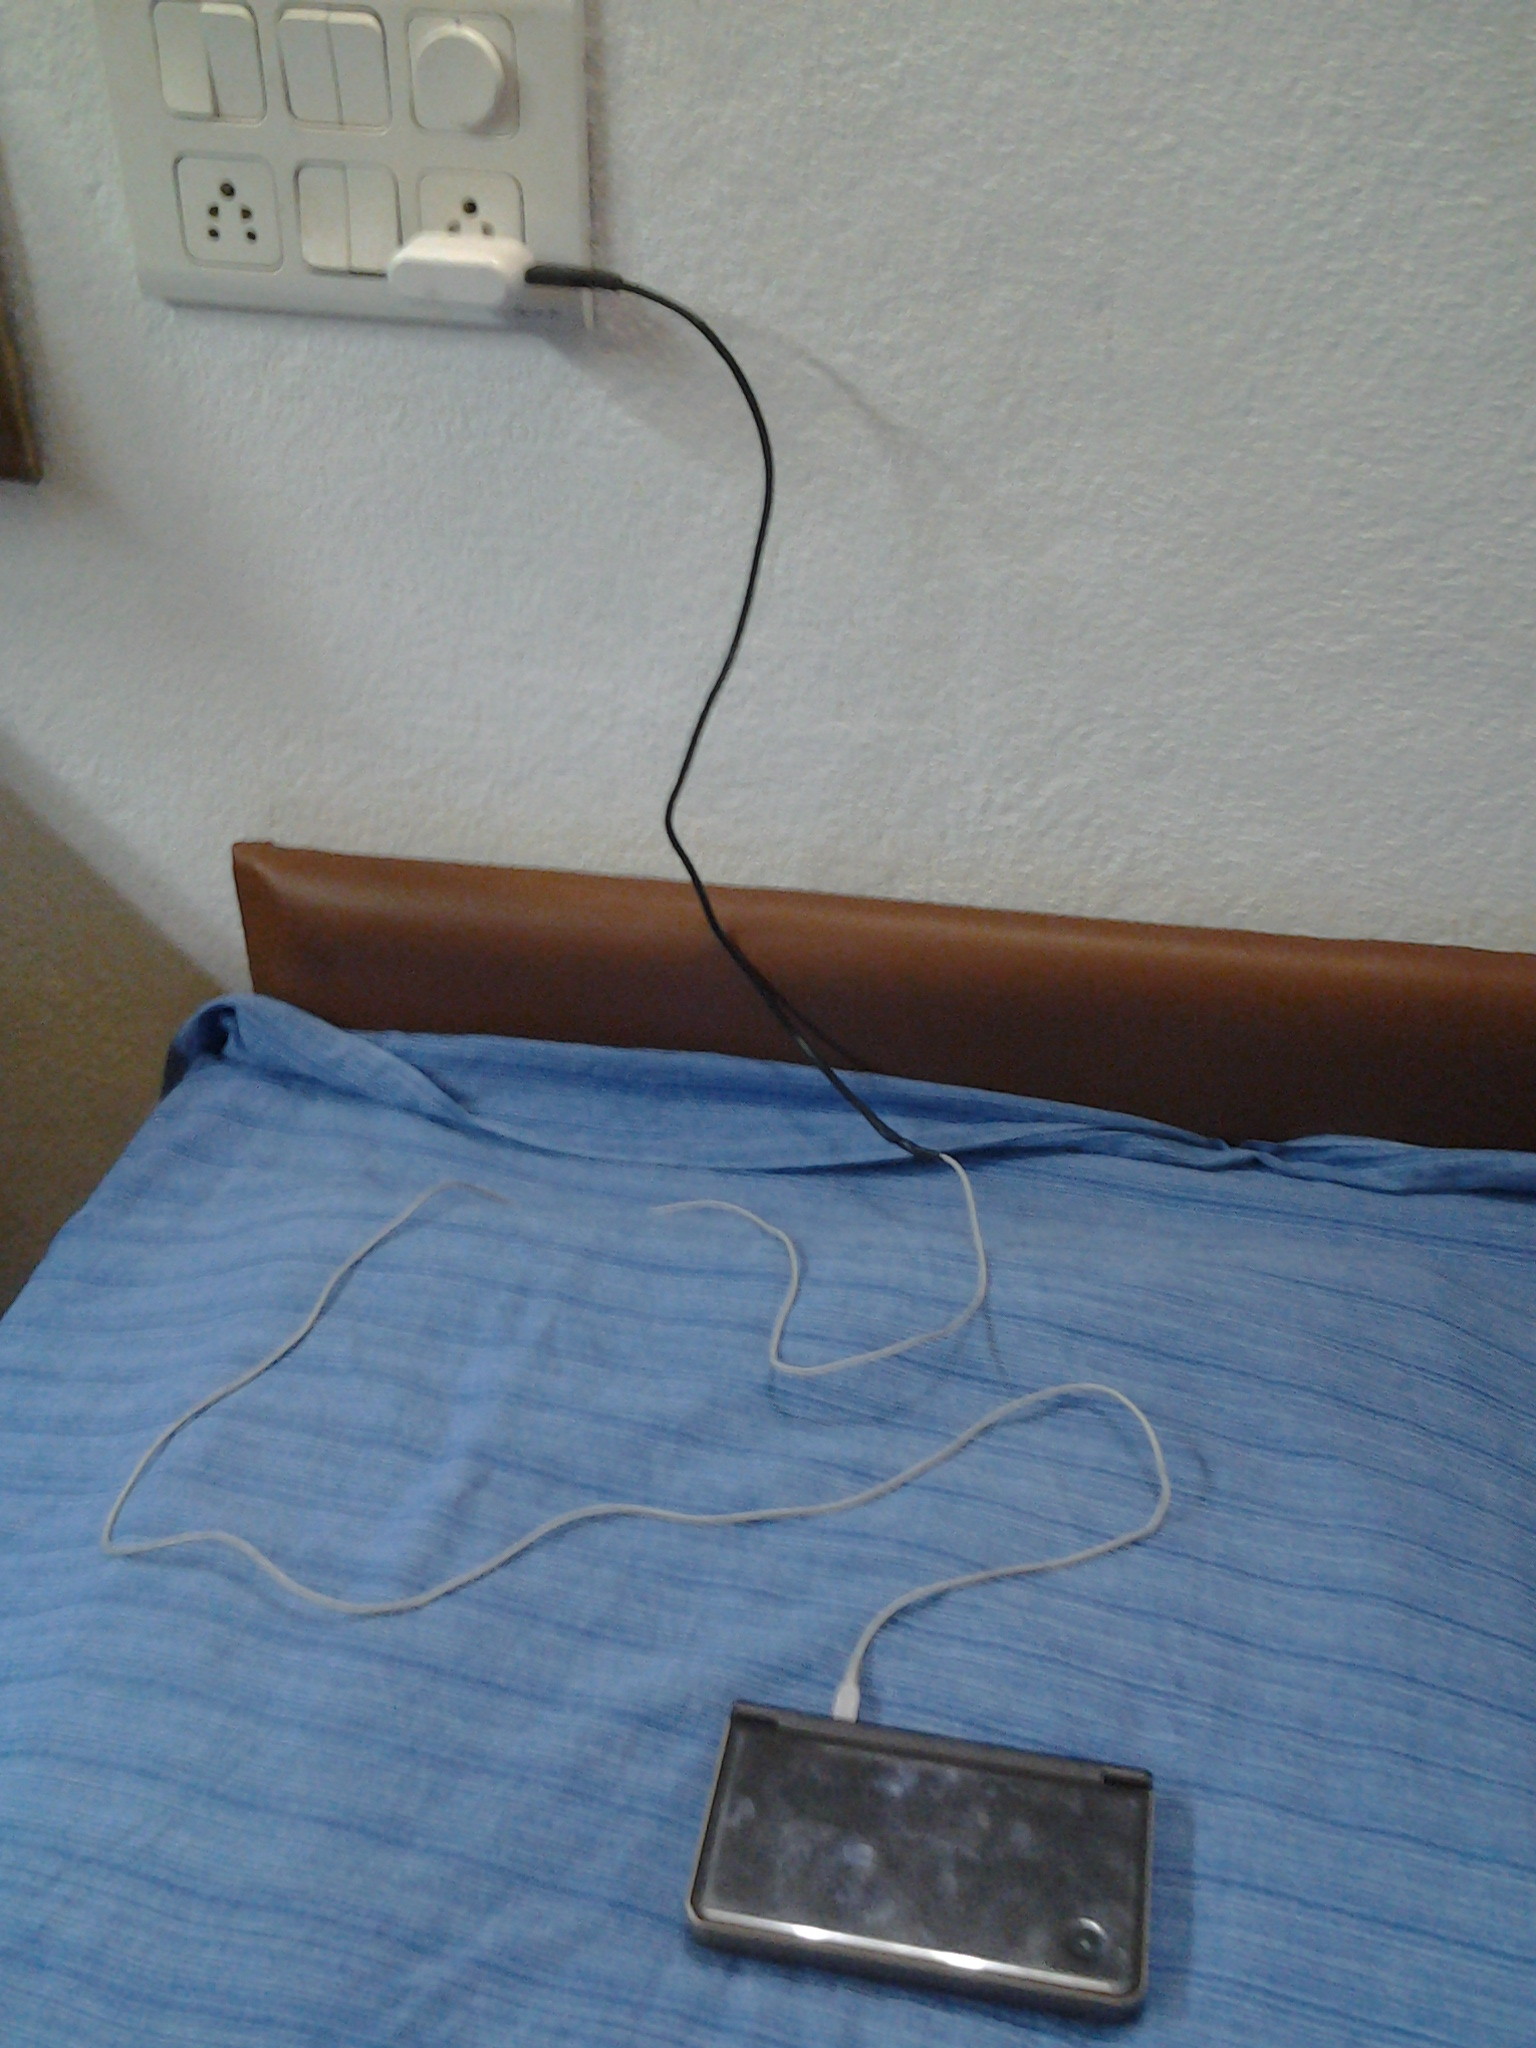
You now have a USB to Nintendo cable. This can be used to charge a Nintendo from any USB power supply (5v), hence making it a universal charger.
You can even charge it from the USB port on your computer/laptop!
Usage: