Sometimes you’re plain old alarm clock just isn’t good enough. You need a drastic change in the external environment to shake you out of your deep slumber.
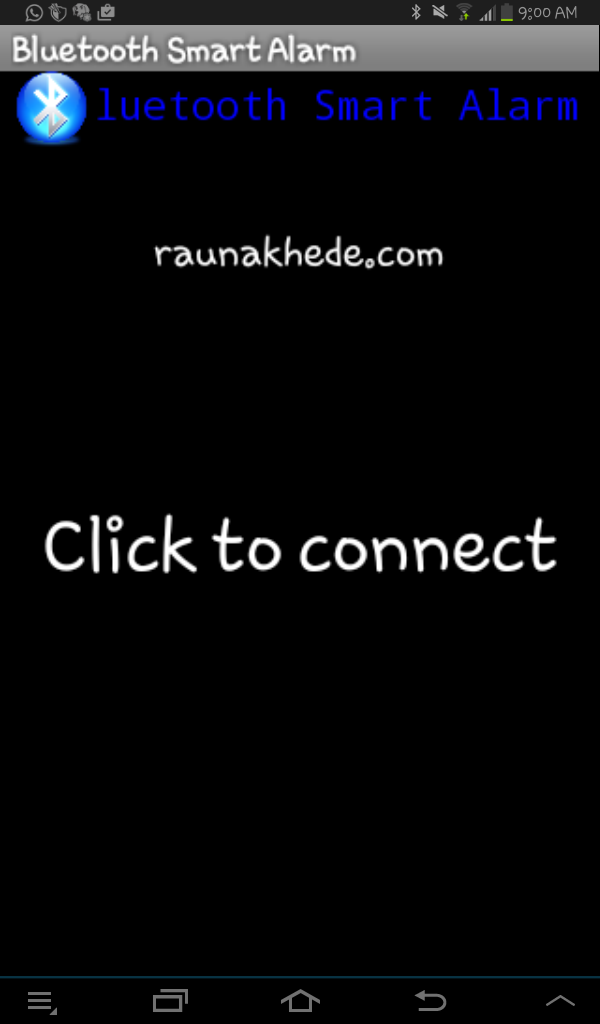
And this is just what the Bluetooth Smart Alarm does best!
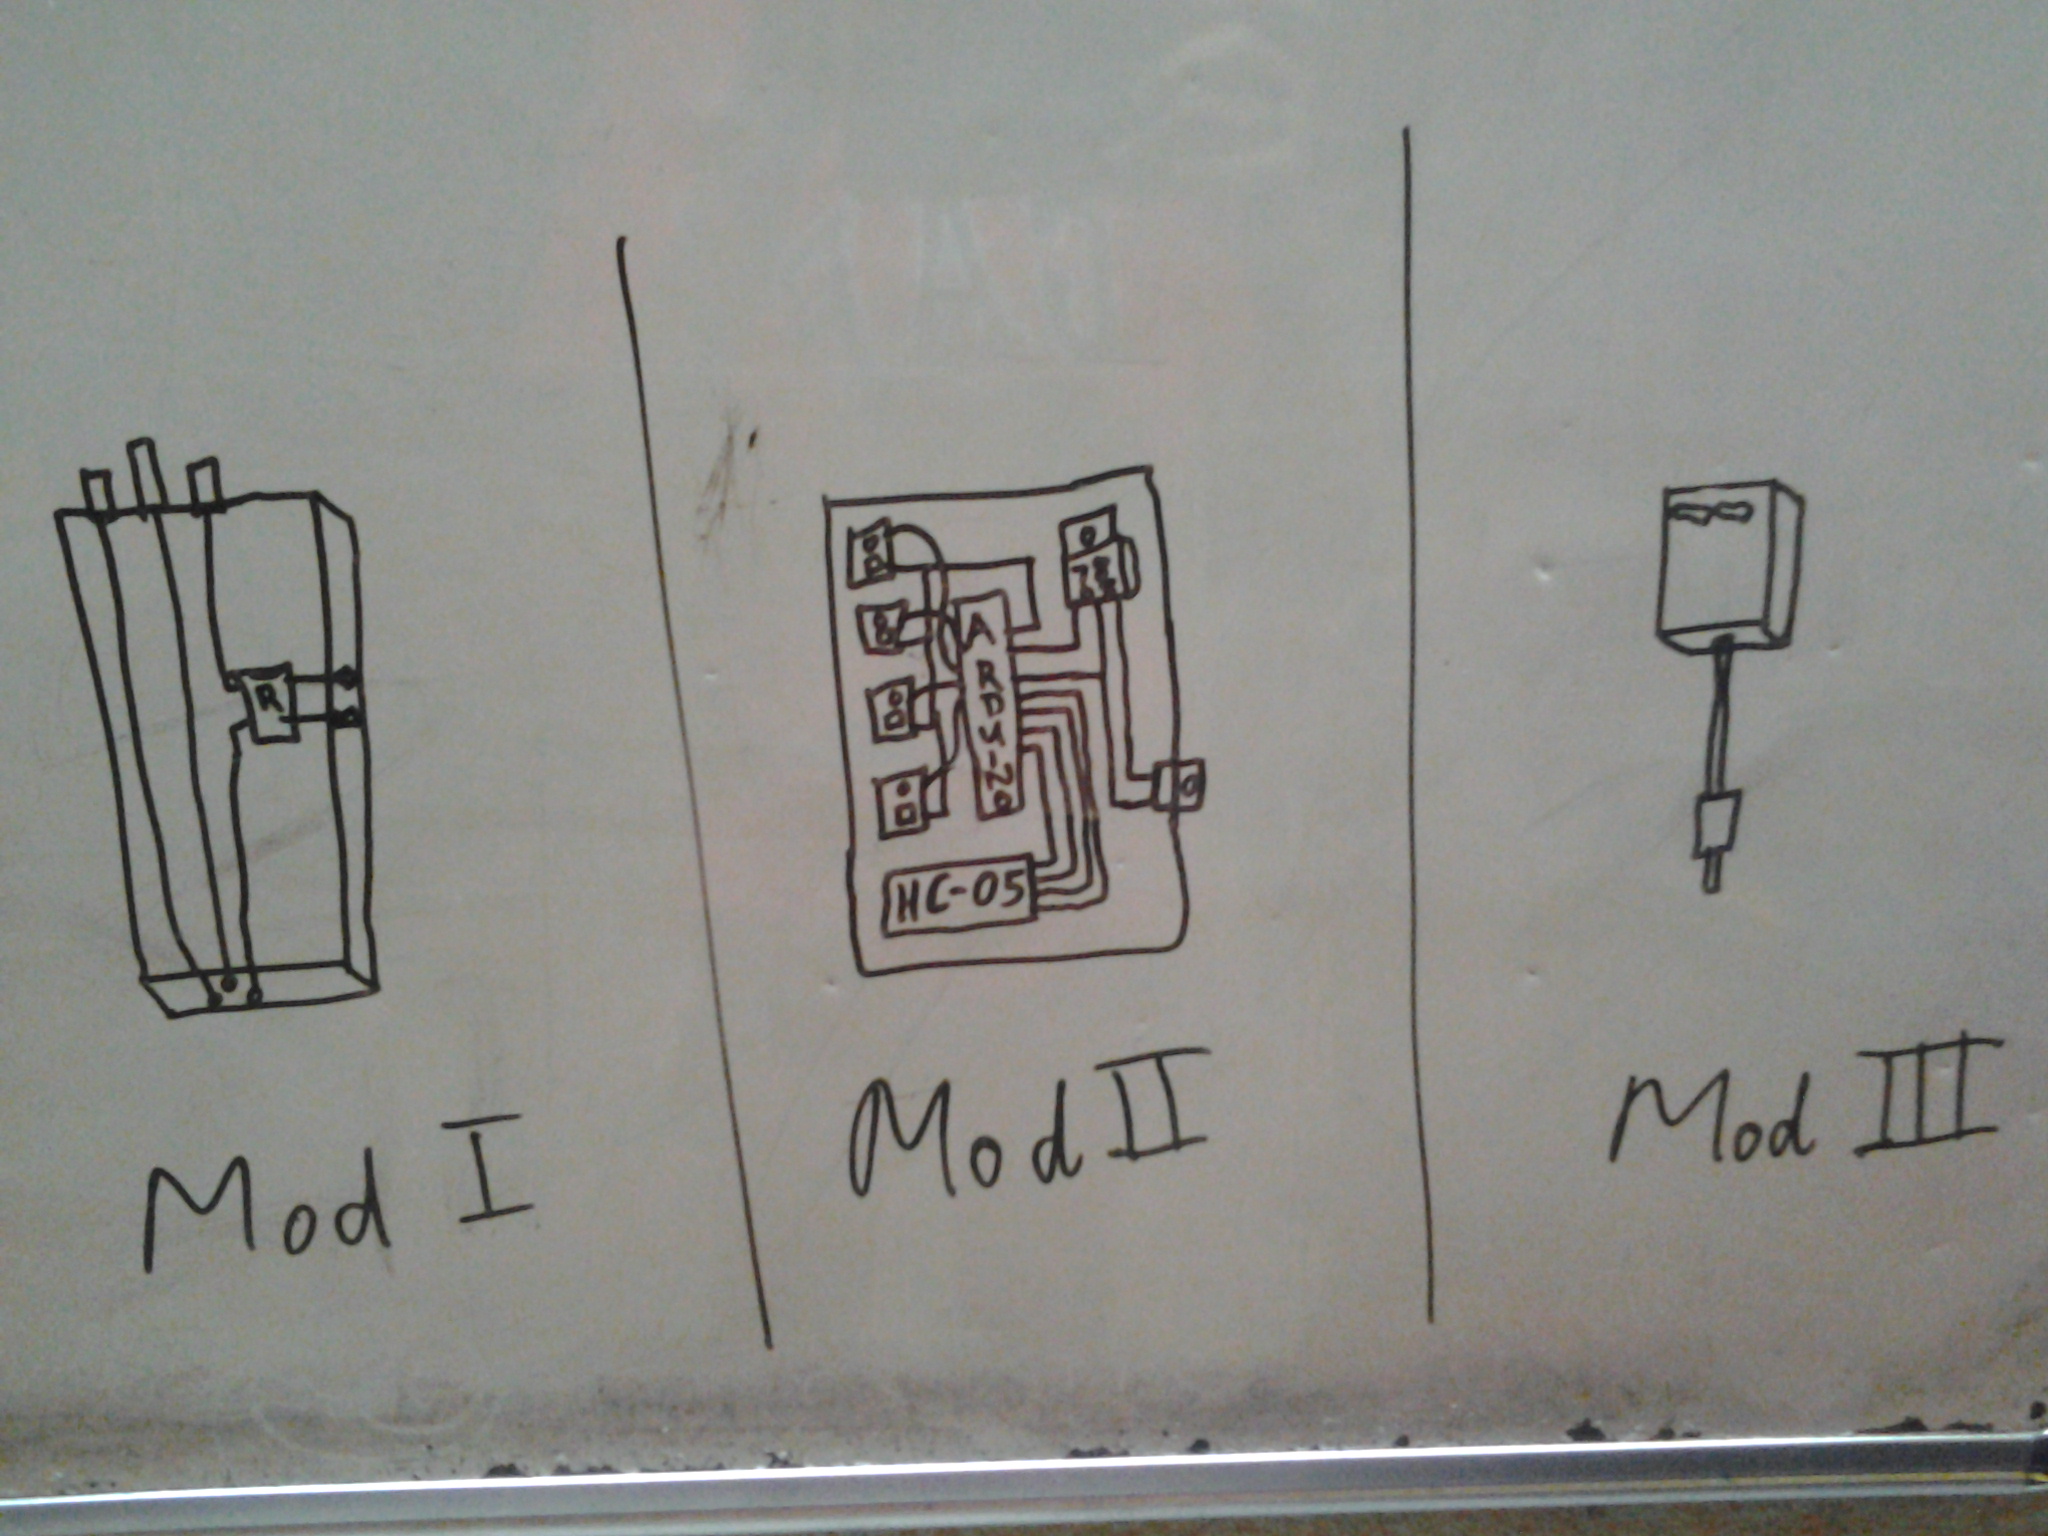
The project consists of 3 modules and an Android application (made using MIT App Inventor 2).

How to use it:
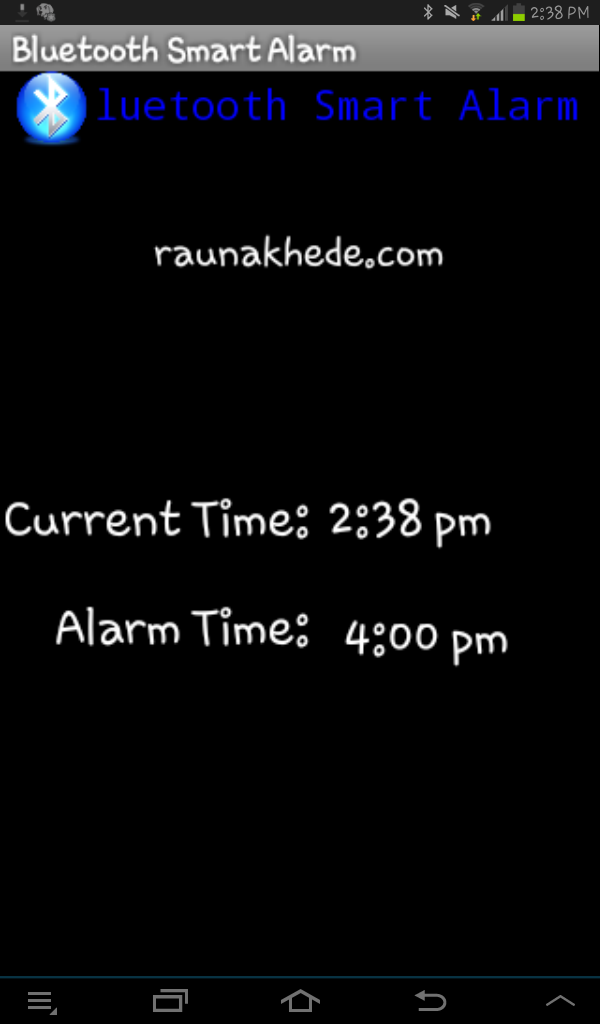
Before going to bed, the user sets a wake-up time in the app. (The app will continue running in the background until removed from the list of background programs.)
At this point, the fan in the room is on and the lights are off.
When the alarm rings (in this case, a song), the fan will go off and the room’s lights will be turned on.
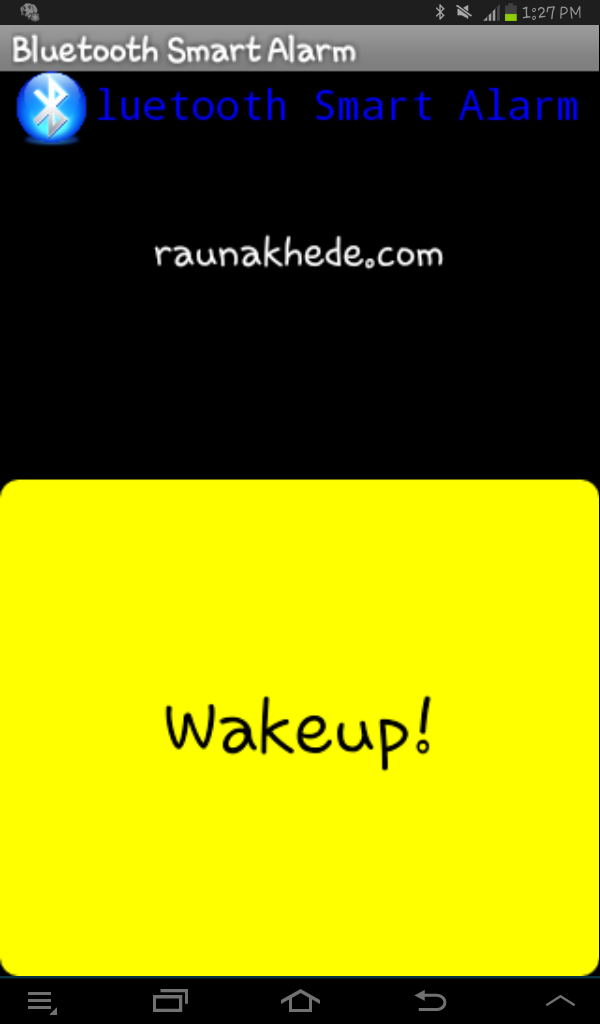
The user then has to switch off the alarm by clicking on a ‘Wakeup!’ button. This will also turn off the lights and the fan. Why the fan too? So that you feel hot and sweaty and don’t go back to sleep!
How it works:
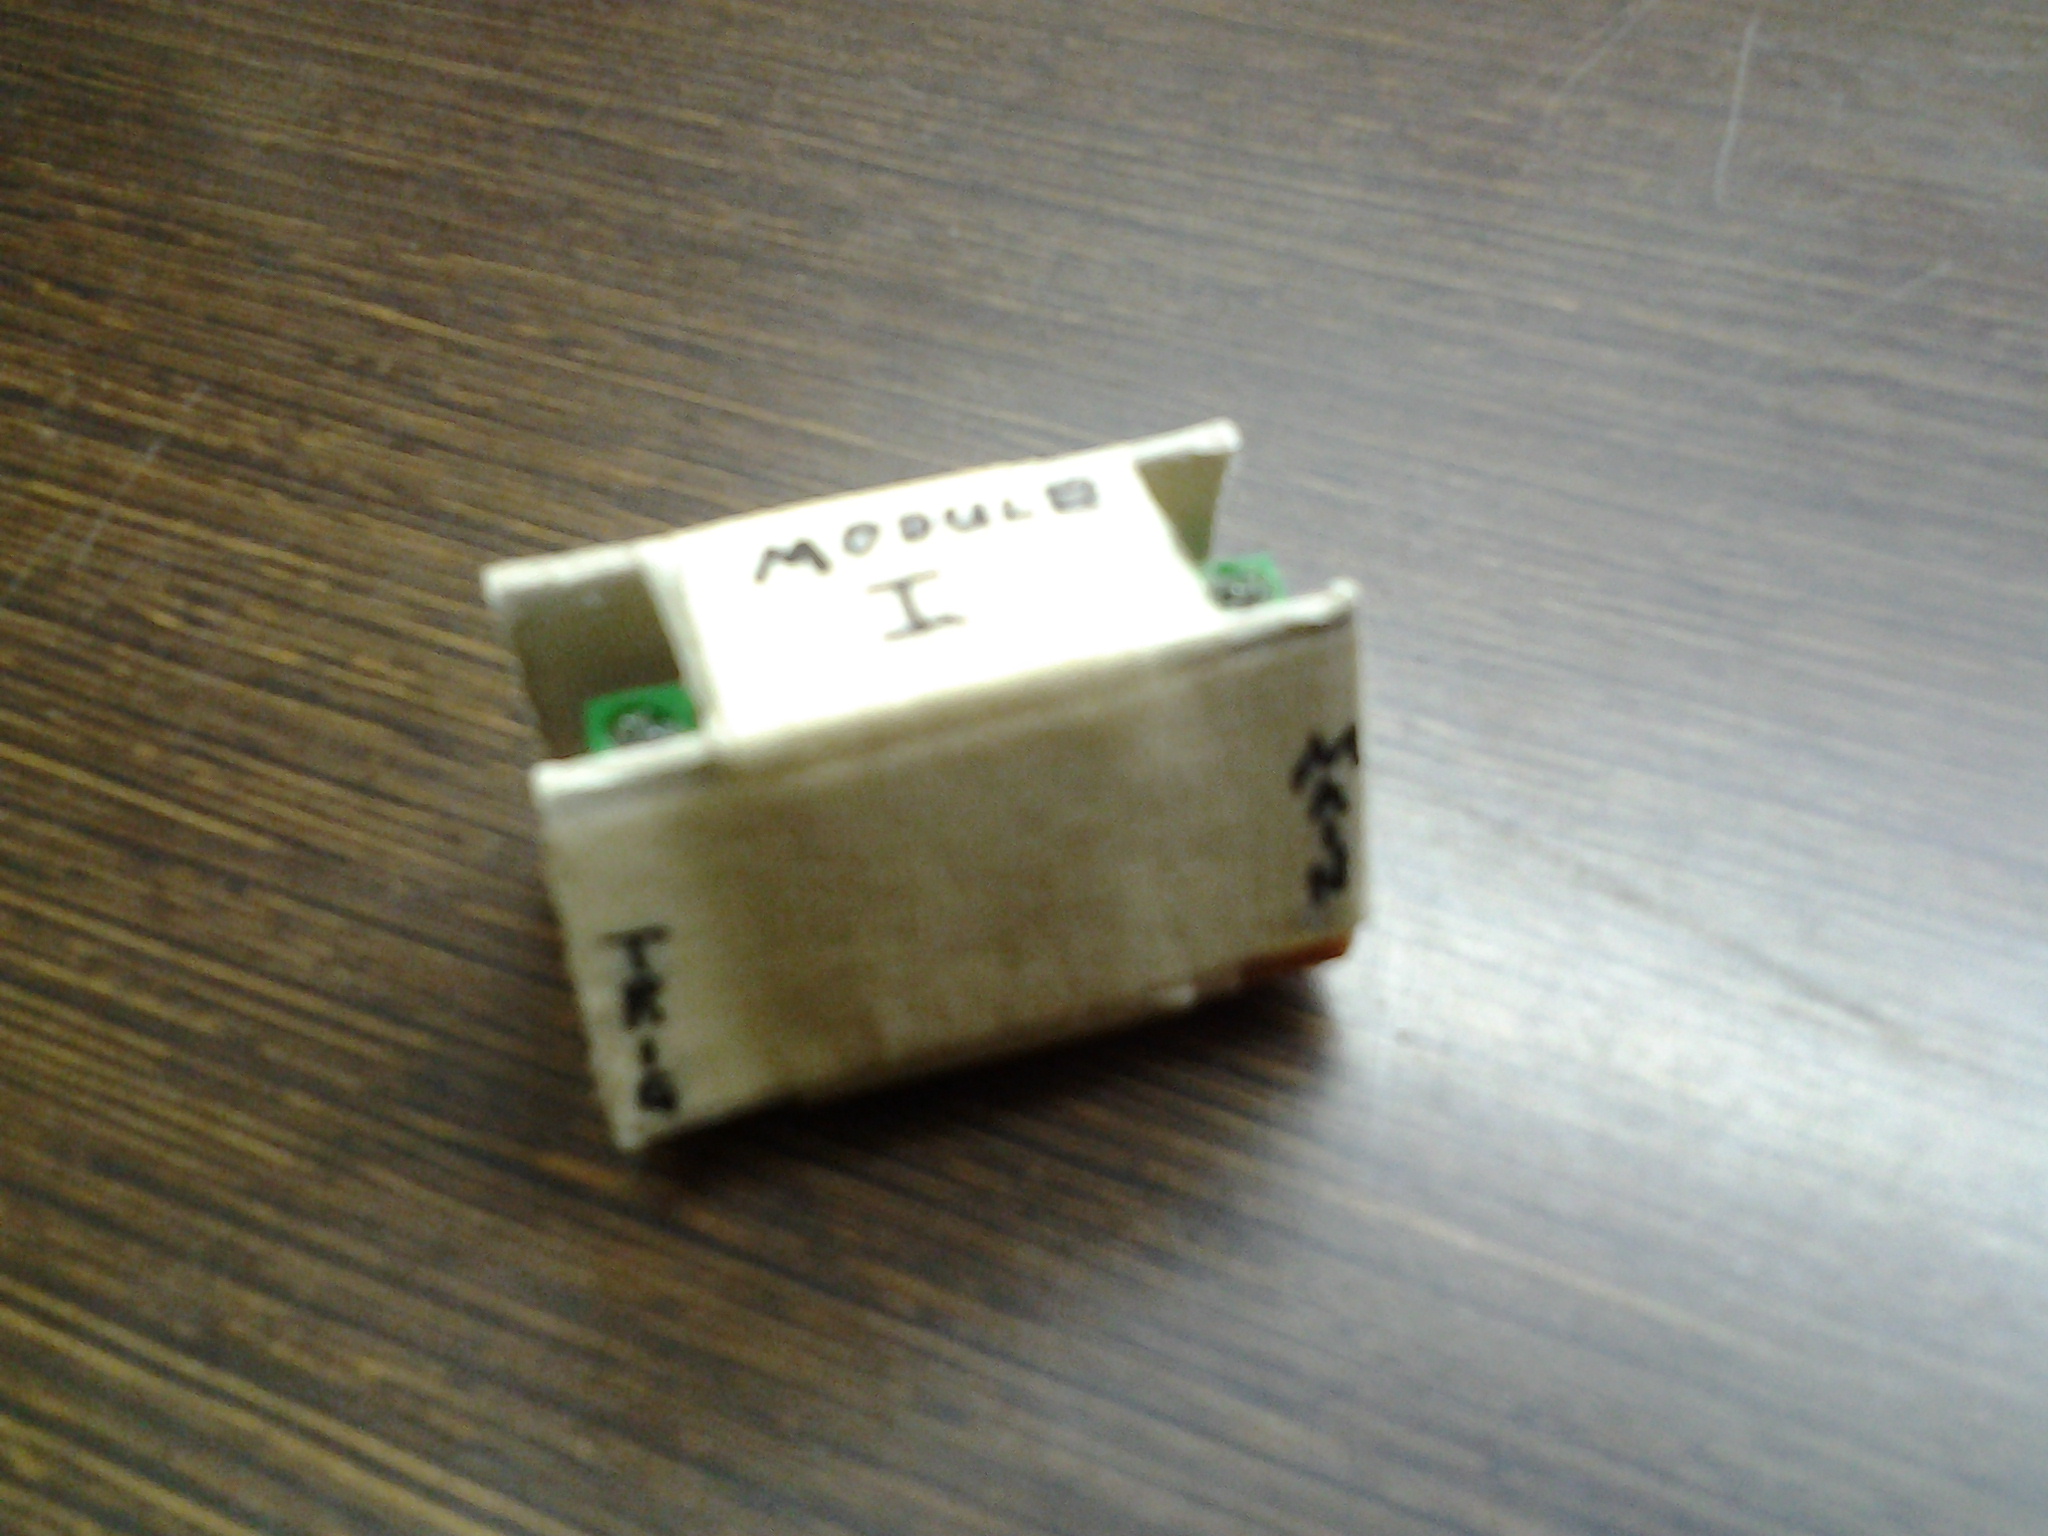
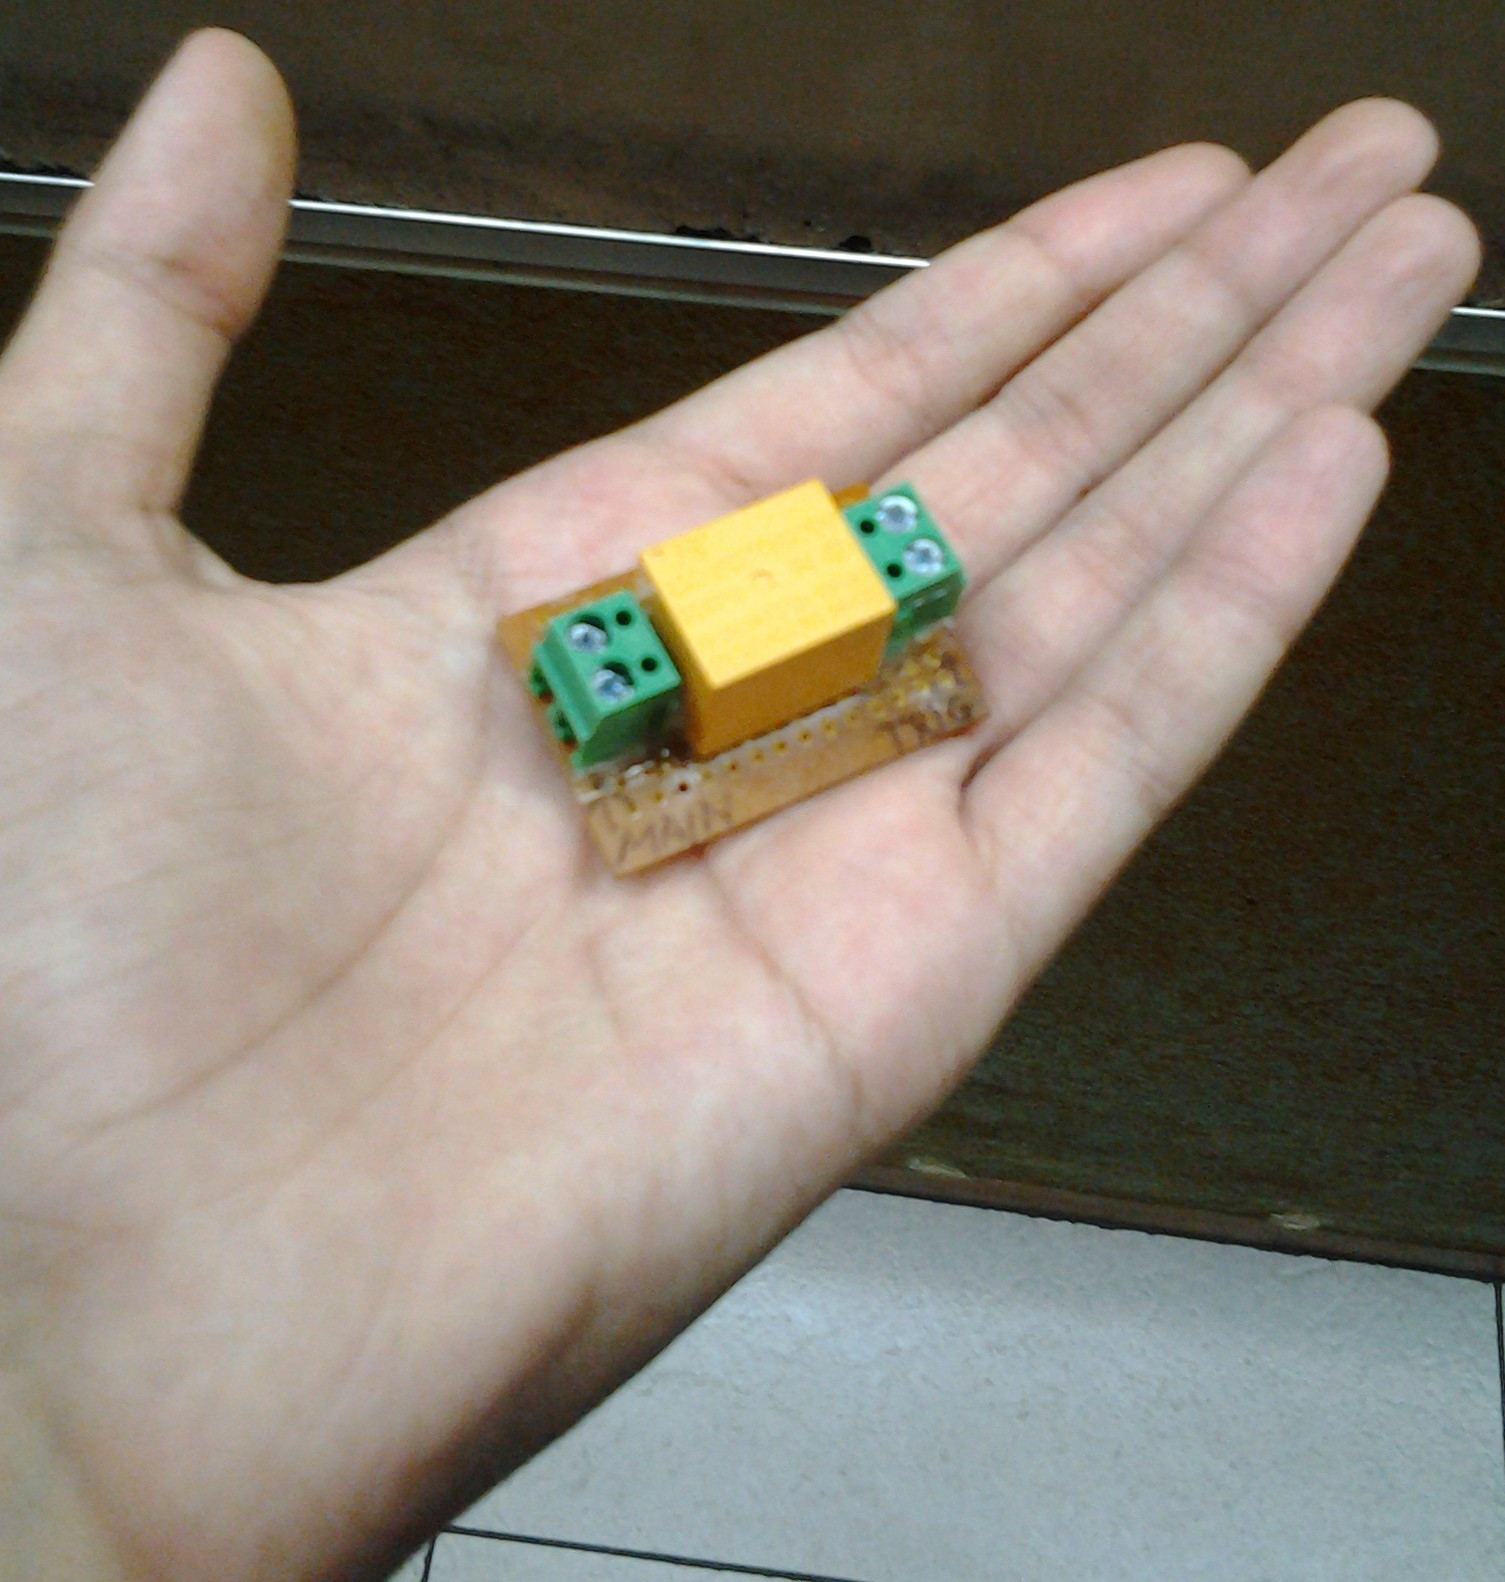
I ] Components used in BT Smart Alarm Mod 1:
- Relays rated at 250VAC, 5A with trigger 12VDC, 10A – I used the JQC-3F(T73)DC12V
- 2 pin PCB block screw terminals (2 nos.)
- A small perfboard or veroboard

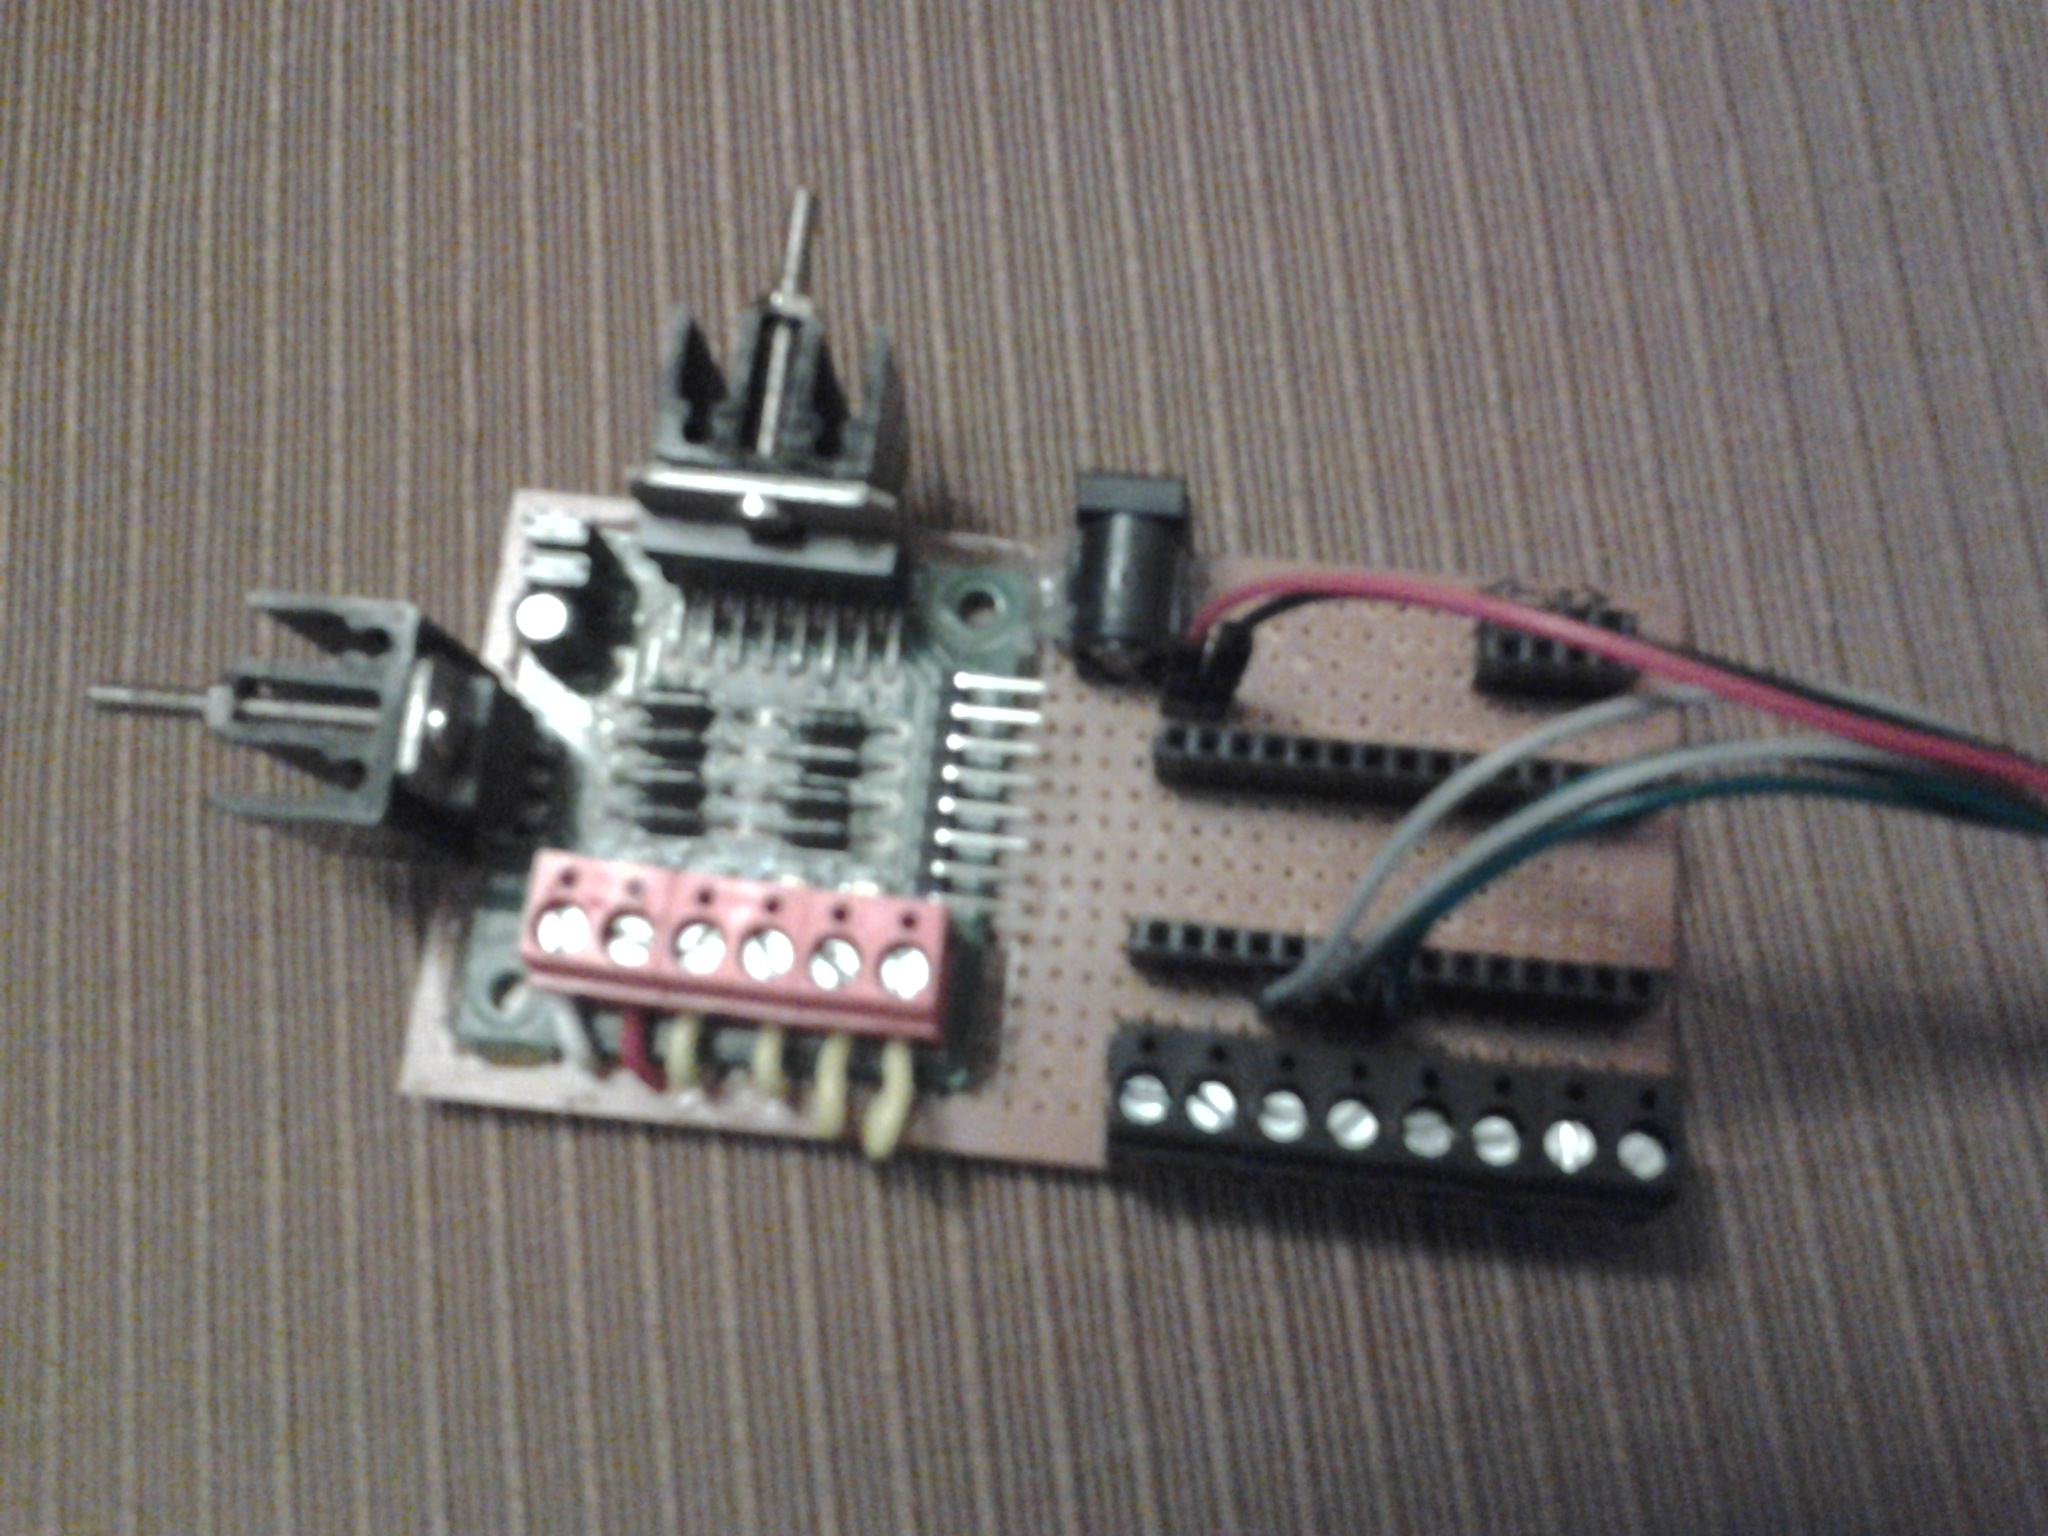
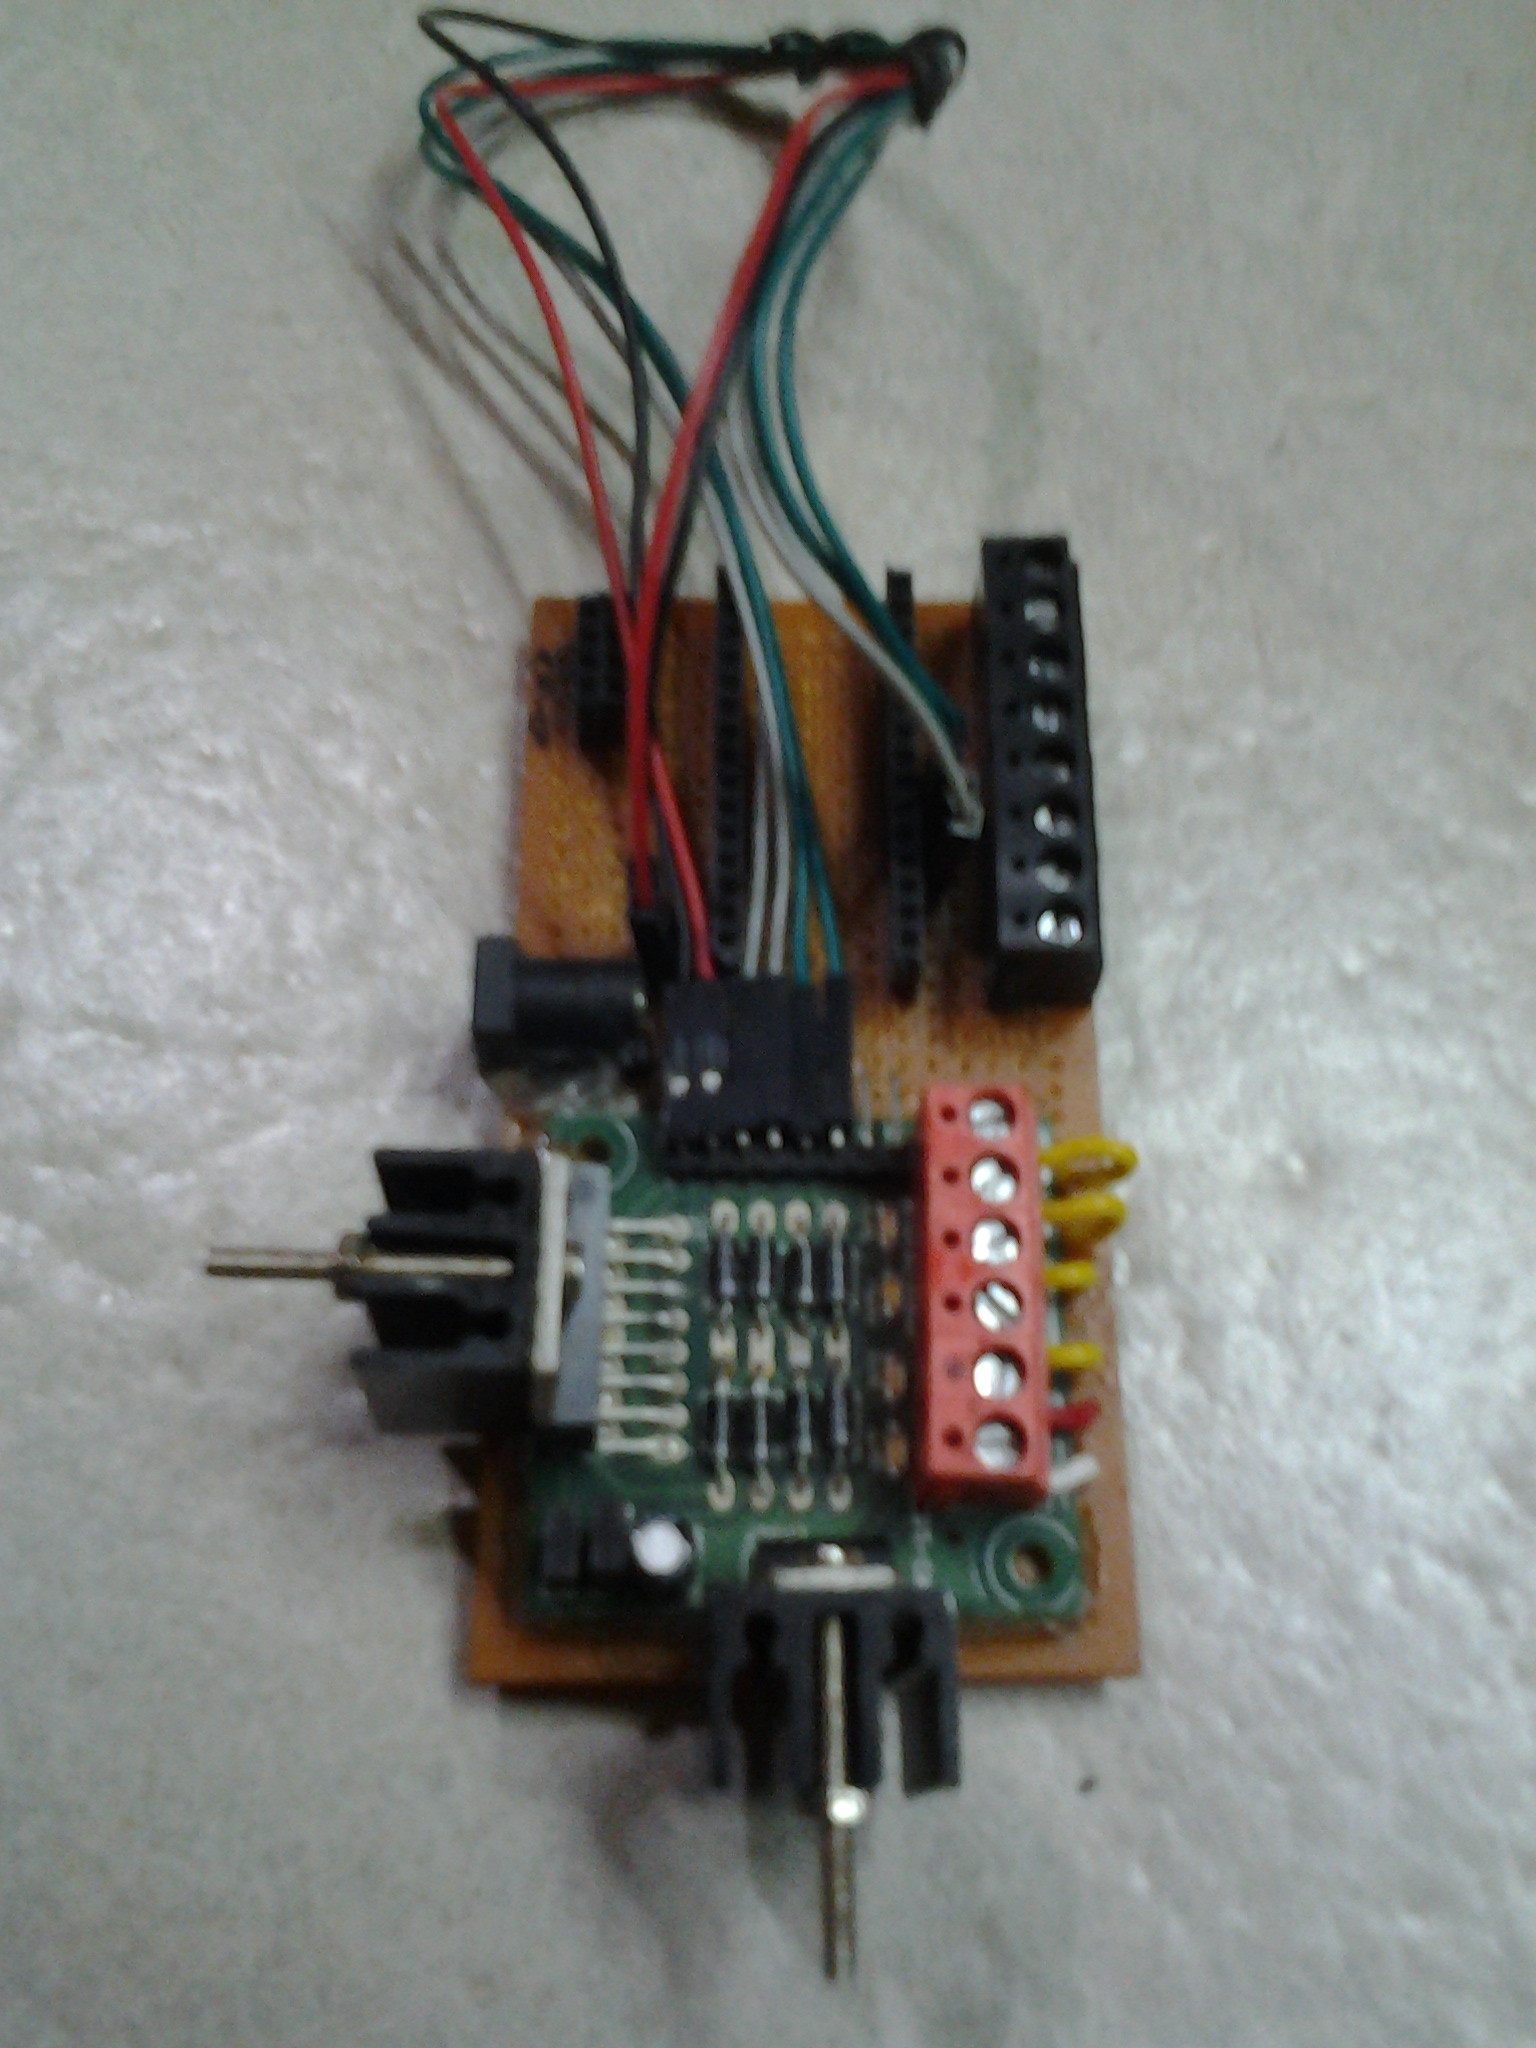
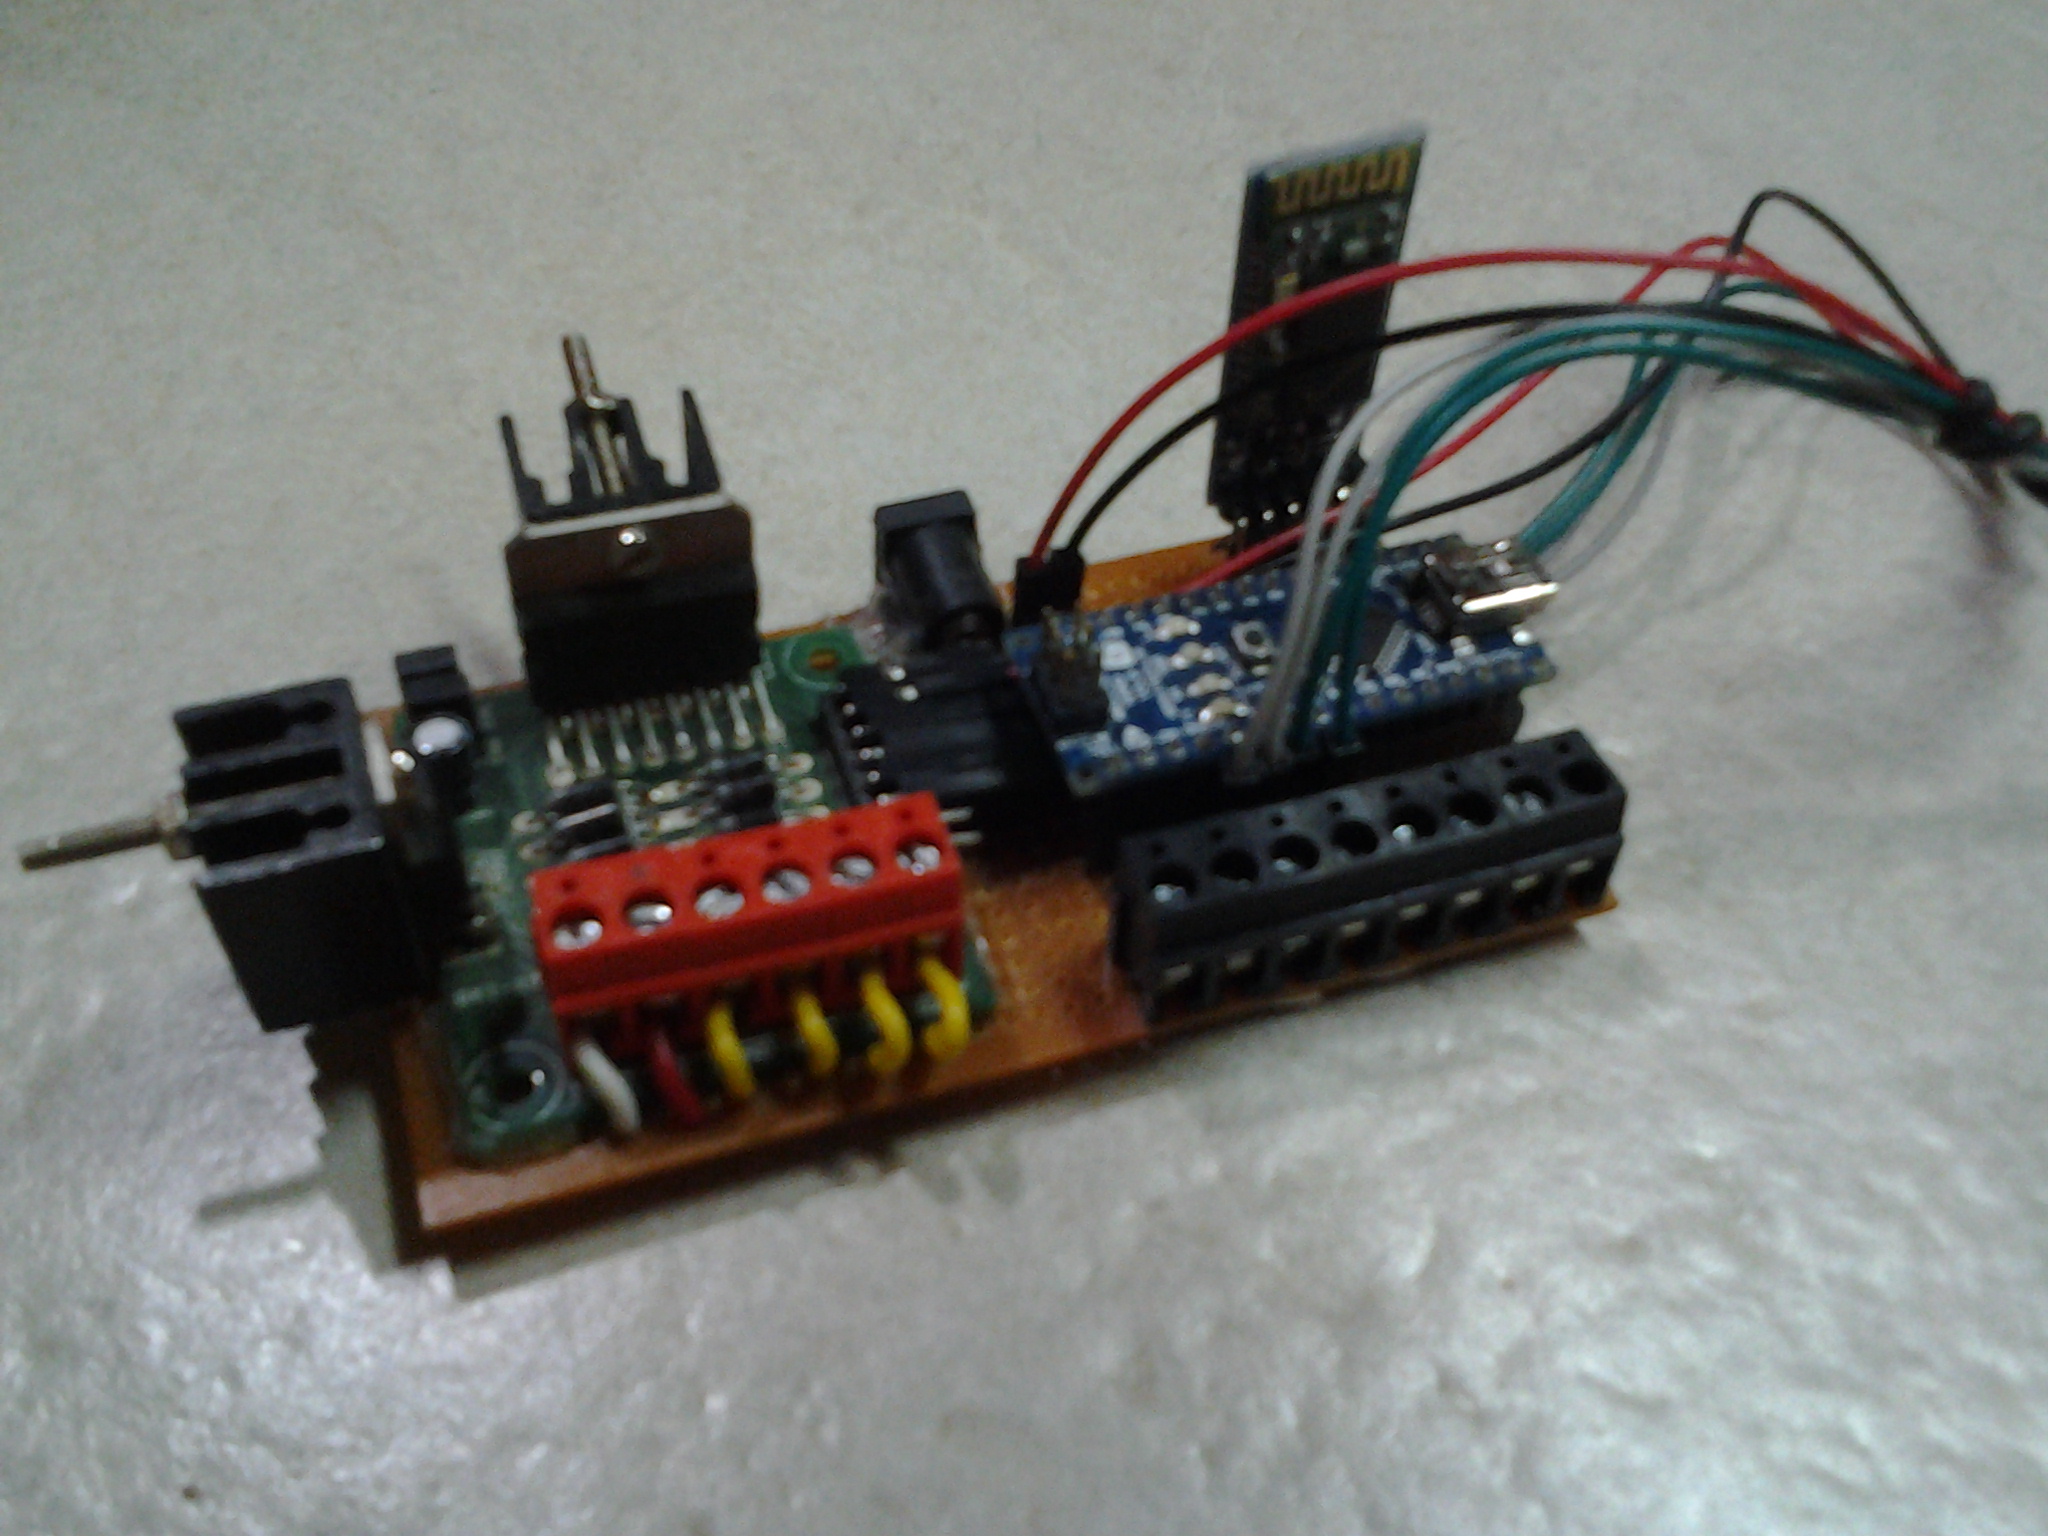
II ] Components used in BT Smart Alarm Mod 2:
- Arduino Nano v3.0
- 2A Dual Motor driver module with PWM control (Any L298 based motor driver will do)
- 2 Heat-sinks (small)
- Barrel jack for 12v DC adaptor
- Female header pins
- Male to female jumper wires
- 2 pin PCB block screw terminals (4 nos.)
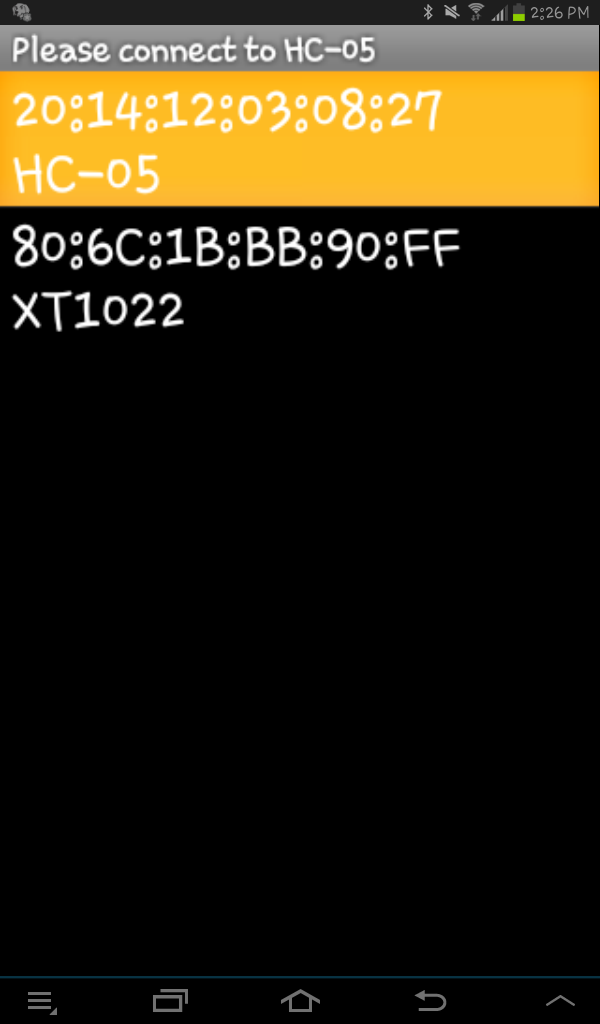
- HC-05 bluetooth module
III ] Components used BT Smart ALarm Mod 3:
- 12v DC adaptor which can provide upto 400mAh
IV ] Internal working:
Initially, the Arduino Nano turns off the lights and turns on the fan. When the user sets a wakeup time, the Android app stores the value and keeps checking it with another value containing the phone’s internal time. When the two values match, the app plays a song and sends a command to HC-05, which is connected to the Arduino. The Arduino then sends four individual signals to four separate relays. These relays control the lights and fan.
Does your site have a contact page? I’m having a tricky time locating it but, I’d prefer to send an e-mail.
I’ve got some recommendations for your blog you could be considering hearing.
Either way, great blog and I look ahead to seeing it
improve with time.
Hi there! This is my 1st comment here so I just wanted to give a quick shout out and tell
you I genuinely enjoy reading through your posts. Can you recommend any other blogs/websites/forums that go over the same subjects?
Thanks a ton!
I am always accustomed to reading smaller content that has clear content, and that is certainly also happening with this article.
Hello my friend! I wish to point out that this article is amazing,
great written and include almost all important infos.
I’d like to peer more posts like this .
It’s hard to come by educated people in this subject, however, you sound like do you know what you’re referring to!
Thanks
This article will assist the world wide web viewers for
strengthening new blog or maybe a weblog from start to
end.
Hello there! This is my 1st comment here so
I just wanted to give a quick shout out and say I really enjoy reading your articles.
Can you suggest any other blogs/websites/forums that deal with the same
subjects? Thank you so much!
Thank you for the compliments.
You could also try instructables.com, blog.arduino.cc and raspberry.org/blog/ for more tech related projects.
I’m not certain where you might be getting the info, however great topic.
I had to spend some time studying far more or determining more.
Thanks for magnificent information I was once in search of this info for my mission.
Just desire to say your article is as amazing. The clarity in your post
is just spectacular and i can assume you’re an expert on this
subject. Fine with your permission let me to grab your feed to keep up to date with forthcoming post.
Thanks a million and please keep up the enjoyable work.